Some fab work......

TopCat1127

Club Member
Sep 25, 2006
11,733
5,627
Middle of a field..........nr Huntingdon
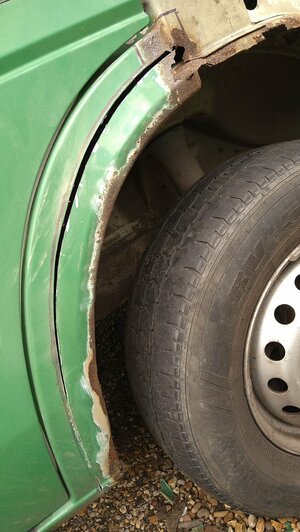
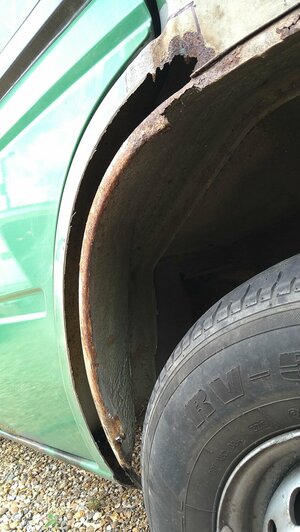
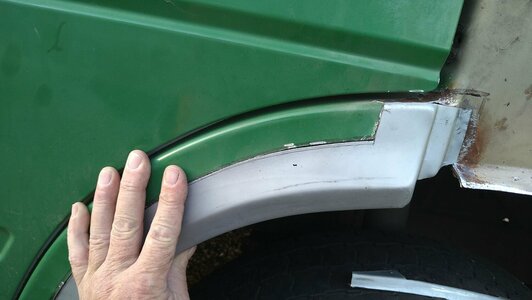
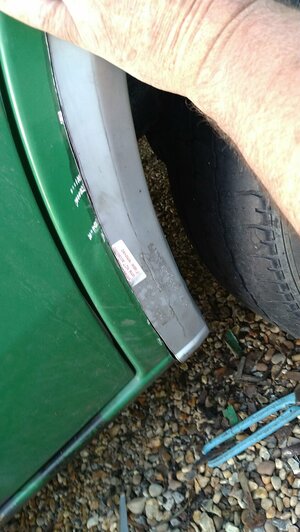
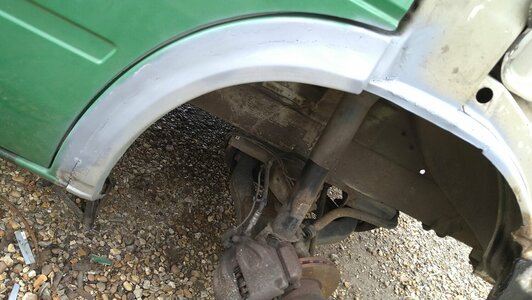
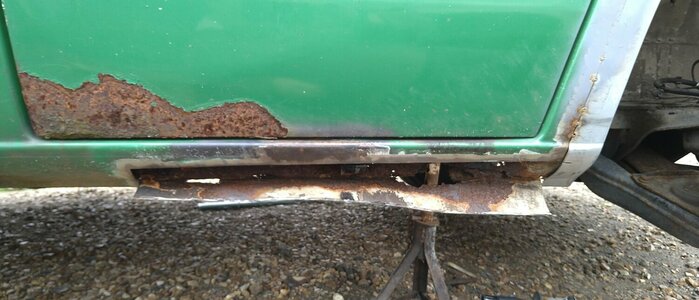
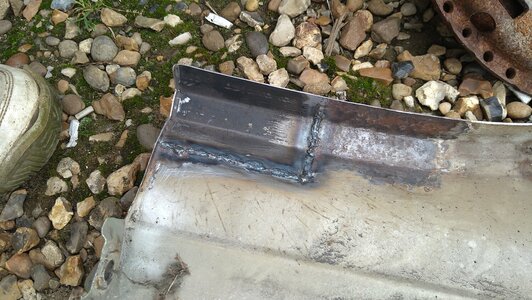
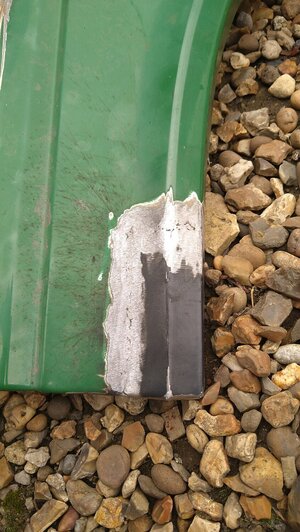
Myself and Kane have been giving Stew a hand sorting out some rot on the big yellow race bus, replaced a rotten corner on the wing, and currently working on the passenger sill, also waiting on an arch repair panel (ironically ordered by Stew when i started research on them the other night lol
DSC_1849.JPG

DSC_1848.JPG

We did both rear suspension mounts and the exhaust, along with the left rear sill a couple of years ago, but this lot needs doing for mot so he can flog it
 
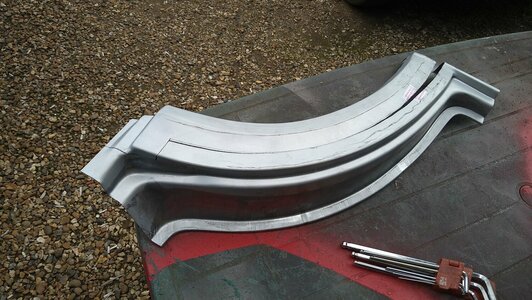
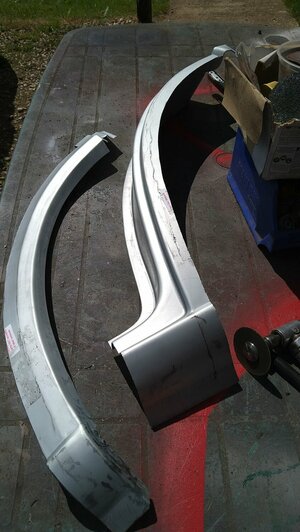
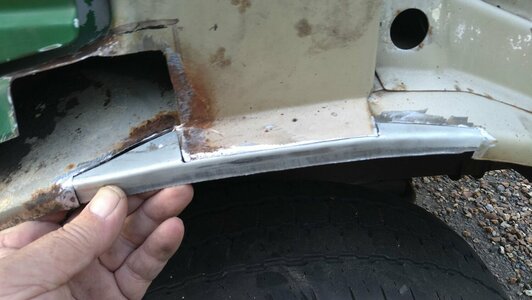
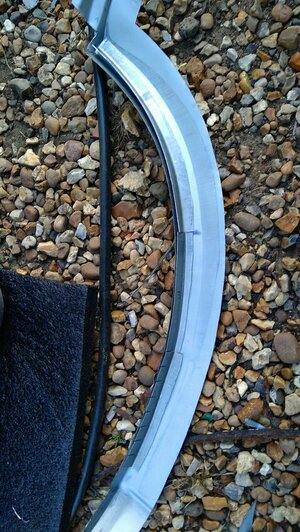
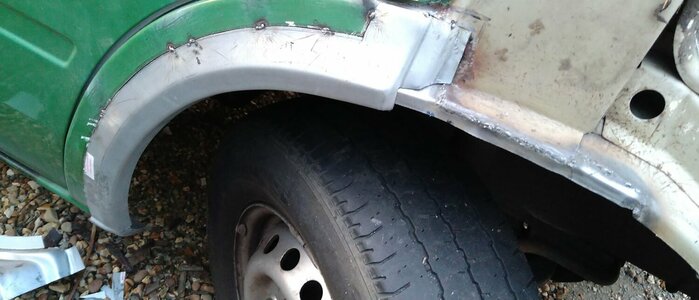
Sorry there was no txt, had to shoot out lol as you can see, i've cut the arch section that i require from the new panel, i have also used the waste flange off the panel, as i need to replace the lip on the inner arch before attaching the outer one, which will have to be done in a few sections, this is still way easier than having to fabricate 2 entirely new pieces from sheet steel, for those following my wheel arch thread, this is what i'm looking for to do the Cougar ones, and ideally with as little fab work as possible, utilising as much of the panel as possible and using the cheapest ones that will give us whats required to do a wheel arch repair, i will also do similar for the sills once i've done some more research, but so far this one is looking good enough to achieve a full repair.
 
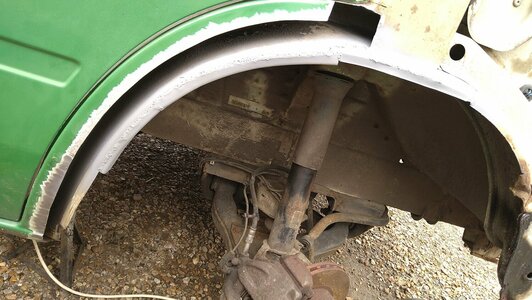
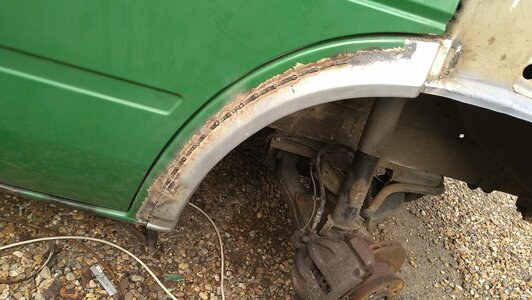
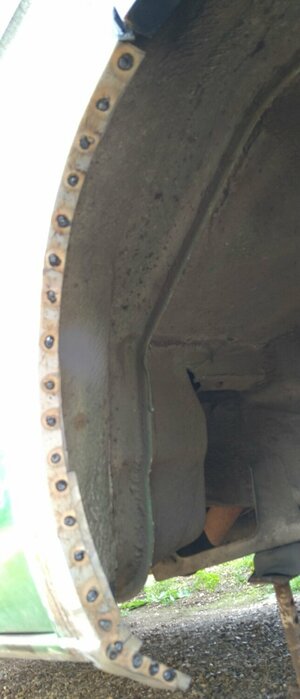
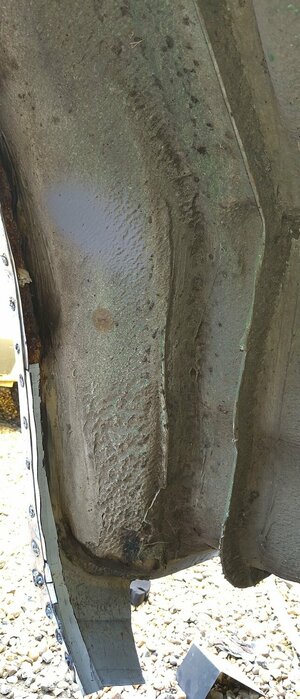
Managed a bit more last couple of evenings, cut out most of the rot on this wheel arch and made up some repair bits for the inner arch
Top bit below the door hinges.....
(door is the green bit top left)

364107335_10219425500422979_4737650141155723914_n.jpg

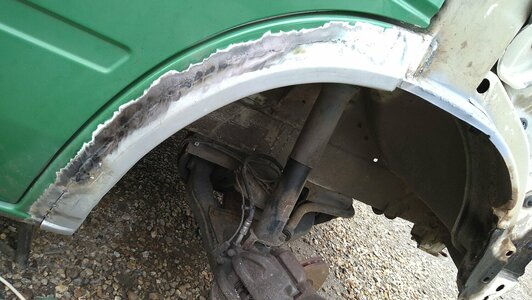
Made up 3 pieces which will replace the rotten lip of the inner arch and follow down from the 1st piece

363930363_10219425501463005_1635370893053453225_n.jpg

It's 3 pieces because the shape wasn't anything like what was left on the original panel, so i found the closest bits and tweaked them by stretching or cutting in slots which will all get welded up, once the shape matches the outer arch

Which is this bit...........lol Top

363799243_10219425500942992_5214924007037925104_n.jpg

And bottom...........

364055141_10219425501383003_386400411566794652_n.jpg

Hopefully when this all eventually gets welded up it should be very similar to the oe arch and be nice n solid (y) 🤘 :cool:

Oh and all of those peices have come from £45 panel which just needed cutting to shape and a bit of tin bashing to tweak, making those peices would have taken me best part of a day or 2 , whereas i'm into this for about 5 hours up to this point.............

I still have the bottom bit onto the sill to do, but thats maybe 2 hours, so you can see where that 45 quid has saved me in time, well chuffed
 
Got the top repair welded in and the wheel arch half tacked so i can get all three inners tacked in, then make up the bottom bits for the sill

366893388_10219430227661157_9071104093020265342_n.jpg

Would have got further but the welder decided otherwise, the earth lead broke off the clamp lol and being as i havent got any 8mm core eye ends i had to re use the old one, but to do so had to dismantle the flippin welder to get the lead out lol still, all sorted and will crack on with some more tomorrow
 
i got to witness this work as tony saved my bacon yesterday by giving me one of his spare alternators....
some great work, got that panel really flush!
you could run your finger over that joint and not feel any raised edges at all.

seriously tho thanks for your help yesterday tony..
as for tillys alty woes ill put that up later...let just say having to change an alty TWICE in 2 days was not funny :LOL:
 
  • Haha
Reactions: TopCat1127
Alty twice in 2 days is dedication.
I found I have a spare Alty, forgot I had it. Depending on other works I‘d like to find the time to rebuild it over the winter.