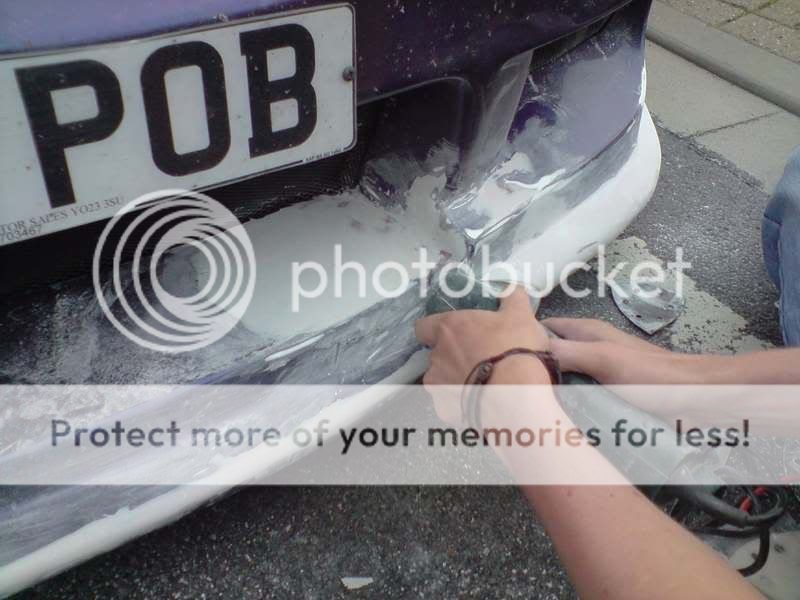
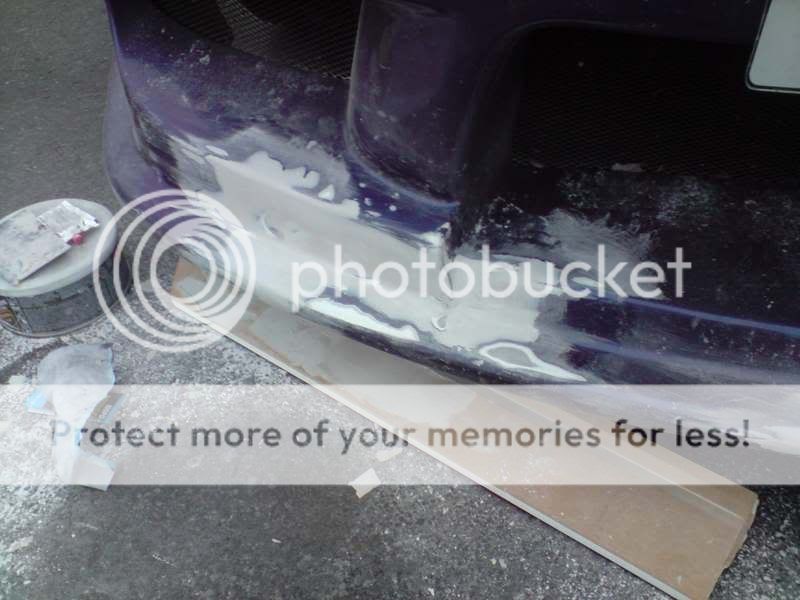
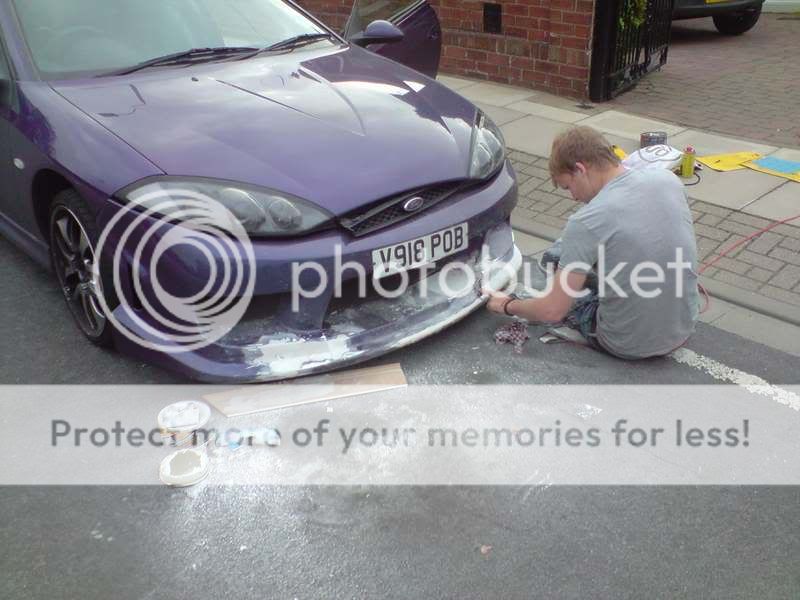
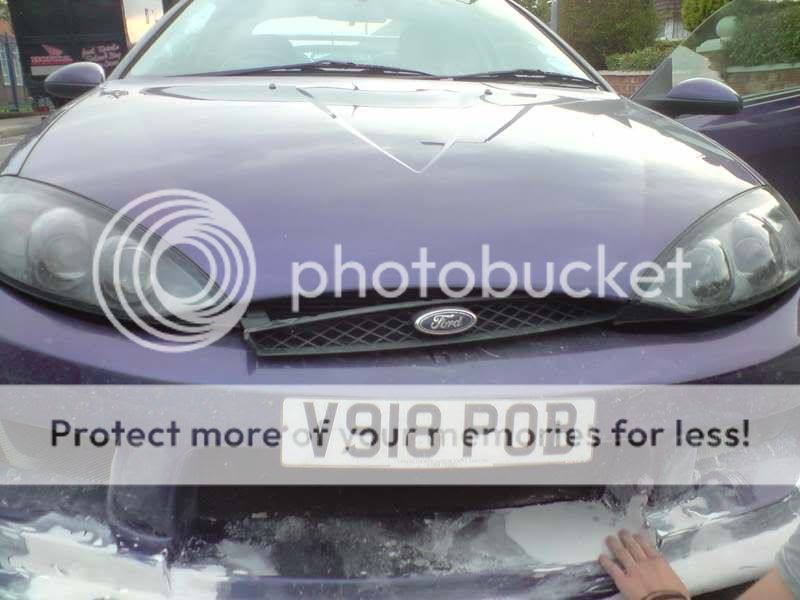
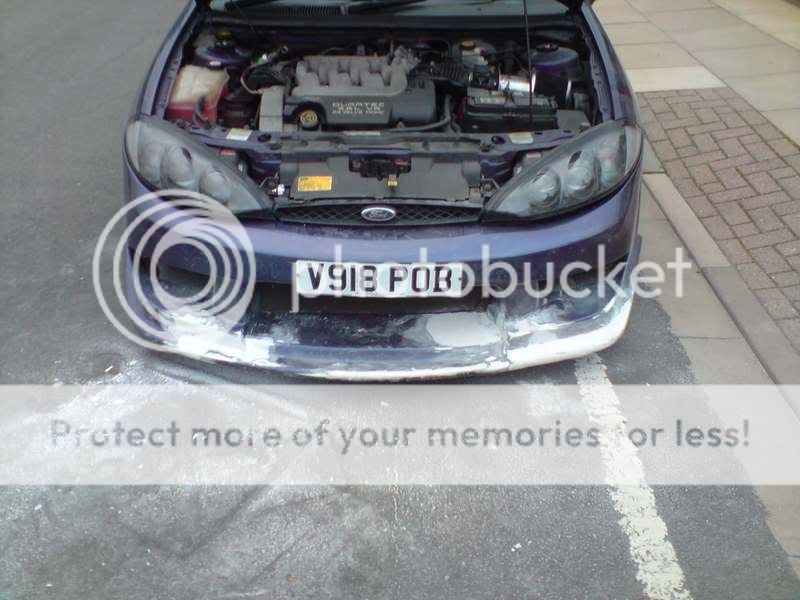
Front bumper damage

J

Joey

So I'm cursed...

About a month ago a curb jumped off the ground a bit my front bumper.
n717495402_3952719_9774.jpg

n717495402_3952720_122.jpg

n717495402_3952721_307.jpg

n717495402_3952722_729.jpg

n717495402_3952723_1215.jpg

So I enlisted the help of Rob... who glassed it back up so it was steady.
n717495402_3952735_7936.jpg

n717495402_3952736_8482.jpg

2000 miles or so later and its still sturdy so today we set about making it look like a bumper again.

n717495402_3952739_9541.jpg

n717495402_3952787_7310.jpg

Tomorrow we intend to finish it off and I'll be attempting to paint it over the next few days. More pics to follow.
 

bobster1982

Club Member
Aug 9, 2007
4,024
1,198
Grimsby
well its a bumper again.. (y) spent tonight with joey getting it all sorted out for him to whip the bumper off and just finish the prep work ready for spraying..

P260808_185001.jpg


P260808_185002.jpg


P260808_1850.jpg


Wonkey grill this years must have mod :LOL:

P260808_1851.jpg


But not any more. grill fixed and just a bit more prep (y)

P260808_1937.jpg


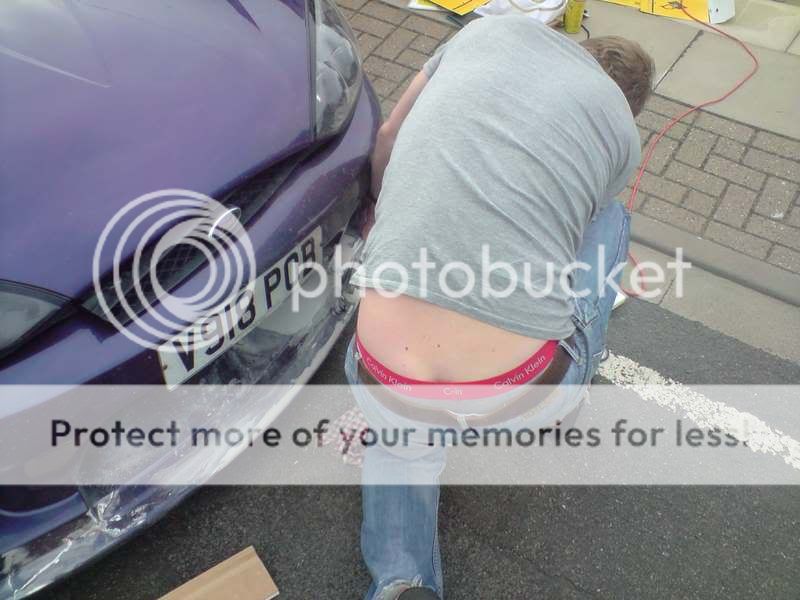
AND JUST TO GET MY OWN BACK JOEY!!

P260808_1806.jpg

 
J

Joey

the taking of body parts and posting them on here could get rather silly. needs a new thread i think... "photos of members in compromising positions." get what i did there?

no anyway, help is much appreciated as not only is the bumper repaired i have learned the process of repairing bodywork. big thumbs up.
 
B

brabenv6

lookin good joey m8,well done rob,and yes yer bum does look big in them lol
 
J

Joey

and so...

Last night I arrived at my parents to start work at around 6.30pm. I couldnt get the bumper up the drive so I had to take the bumper off on the street which is a 60mph "b" road so with traffic being what it was that took me until 8.00pm! Getting that bumper off was the single most testing job of the whole operation.:mad5:

Anyway... 1st things 1st I had to remove all the old meshing that was damaged and rusting.
n717495402_3989203_2375.jpg


Then I had to go and prep the thing. Sanding with 120 and 240 grit wet and dry to get the finish I needed. The "x" is a note to myself that I'm not happy with this bit... the size of the "x" tells me that this area needed lots of work.
n717495402_3989202_1951.jpg


At this point I was happy with the shape. Now was time for the hard work... the 1200 grit wet and dry. That had me going until 2.30am!

Next morning... funny looking eh?

n717495402_3989198_925.jpg


The 1st coat of paint.
n717495402_3989152_2947.jpg


You can clearly see Rob's resin work in the next shot... It's the pink stuff.

n717495402_3989151_2445.jpg


After all is said and done, 3 coats of primer, 10 coats (or so) of paint and 4 coats lacquer... its 8.20pm and we have this...
n717495402_3989148_885.jpg


I know its a bit dark. I'll get a decent daylight shot in soon but not before the lacquer has hardened and the job has been finished. I still have 2 stages to go but I'm please up to this point.

(y)
 
Last edited: