Front bumper damage

J

Joey

So I'm cursed...

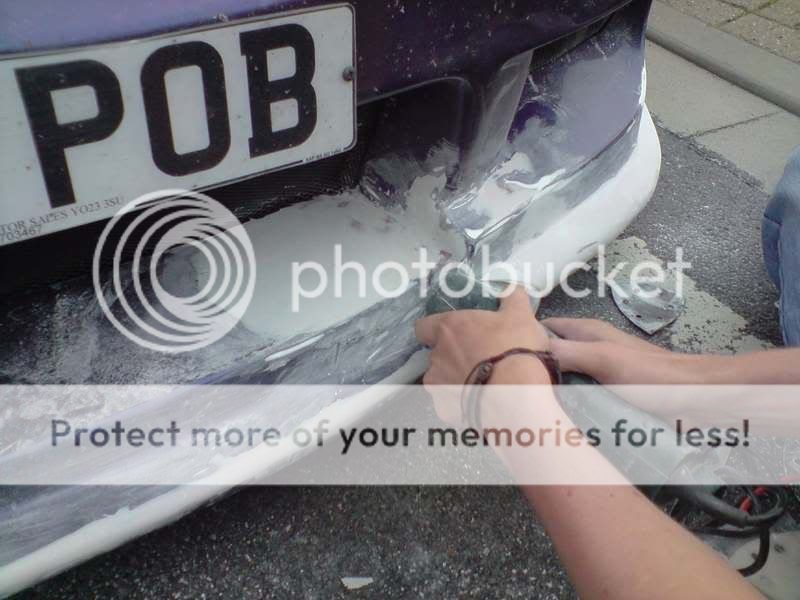
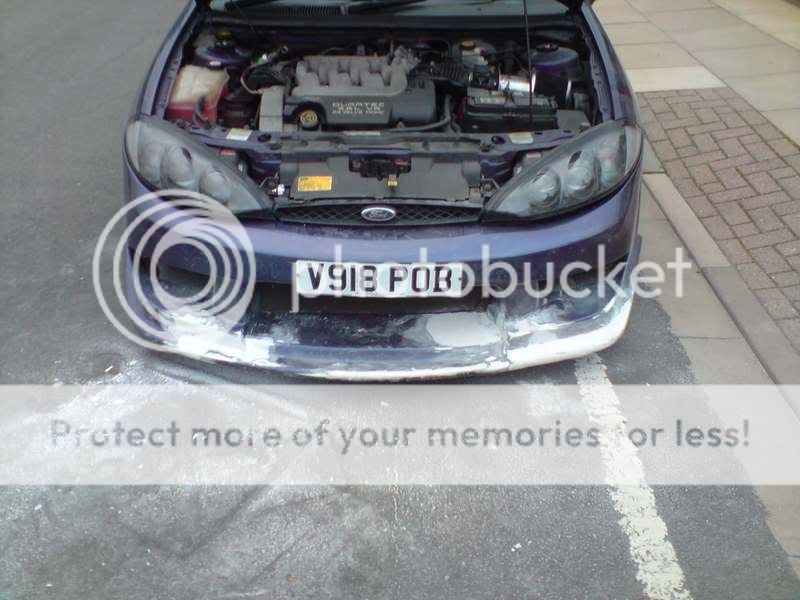
About a month ago a curb jumped off the ground a bit my front bumper.
n717495402_3952719_9774.jpg

n717495402_3952720_122.jpg

n717495402_3952721_307.jpg

n717495402_3952722_729.jpg

n717495402_3952723_1215.jpg

So I enlisted the help of Rob... who glassed it back up so it was steady.
n717495402_3952735_7936.jpg

n717495402_3952736_8482.jpg

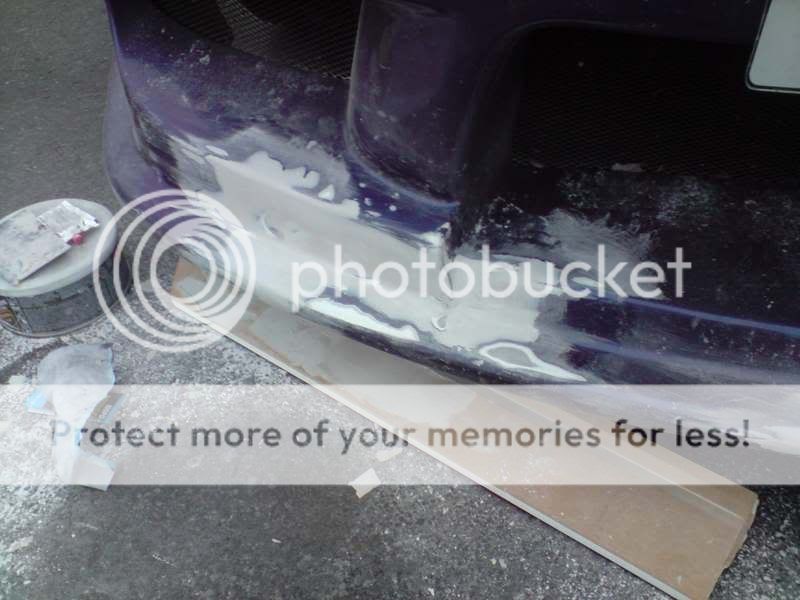
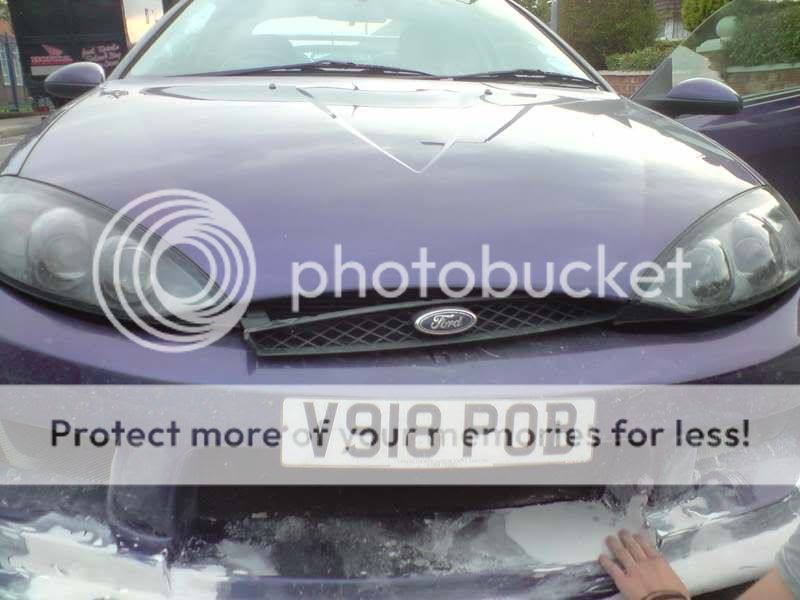
2000 miles or so later and its still sturdy so today we set about making it look like a bumper again.

n717495402_3952739_9541.jpg

n717495402_3952787_7310.jpg

Tomorrow we intend to finish it off and I'll be attempting to paint it over the next few days. More pics to follow.
 
well its a bumper again.. (y) 
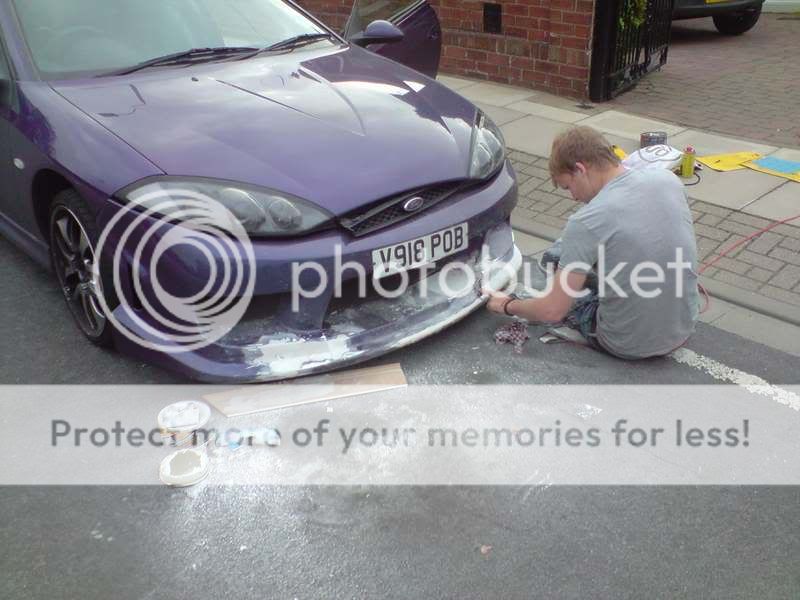
spent tonight with joey getting it all sorted out for him to whip the bumper off and just finish the prep work ready for spraying..

P260808_185001.jpg


P260808_185002.jpg


P260808_1850.jpg


Wonkey grill this years must have mod :LOL:

P260808_1851.jpg


But not any more. grill fixed and just a bit more prep (y)

P260808_1937.jpg


AND JUST TO GET MY OWN BACK JOEY!!

P260808_1806.jpg

 
the taking of body parts and posting them on here could get rather silly. needs a new thread i think... "photos of members in compromising positions." get what i did there?

no anyway, help is much appreciated as not only is the bumper repaired i have learned the process of repairing bodywork. big thumbs up.
 
lookin good joey m8,well done rob,and yes yer bum does look big in them lol
 
and so...

Last night I arrived at my parents to start work at around 6.30pm. I couldnt get the bumper up the drive so I had to take the bumper off on the street which is a 60mph "b" road so with traffic being what it was that took me until 8.00pm! Getting that bumper off was the single most testing job of the whole operation.:mad5:

Anyway... 1st things 1st I had to remove all the old meshing that was damaged and rusting.
n717495402_3989203_2375.jpg


Then I had to go and prep the thing. Sanding with 120 and 240 grit wet and dry to get the finish I needed. The "x" is a note to myself that I'm not happy with this bit... the size of the "x" tells me that this area needed lots of work.
n717495402_3989202_1951.jpg


At this point I was happy with the shape. Now was time for the hard work... the 1200 grit wet and dry. That had me going until 2.30am!

Next morning... funny looking eh?

n717495402_3989198_925.jpg


The 1st coat of paint.
n717495402_3989152_2947.jpg


You can clearly see Rob's resin work in the next shot... It's the pink stuff.

n717495402_3989151_2445.jpg


After all is said and done, 3 coats of primer, 10 coats (or so) of paint and 4 coats lacquer... its 8.20pm and we have this...
n717495402_3989148_885.jpg


I know its a bit dark. I'll get a decent daylight shot in soon but not before the lacquer has hardened and the job has been finished. I still have 2 stages to go but I'm please up to this point.

(y)
 
Last edited: