Interior Lights

T

tom_the_paddy

I started this about 6 months ago and it's still a bit of an ongoing job (got the speedo to do yet) but all the hard work is over now as the HVAC is finally done (thank God!!)

Picture006.jpg


Picture009.jpg


Picture010.jpg


Picture013.jpg


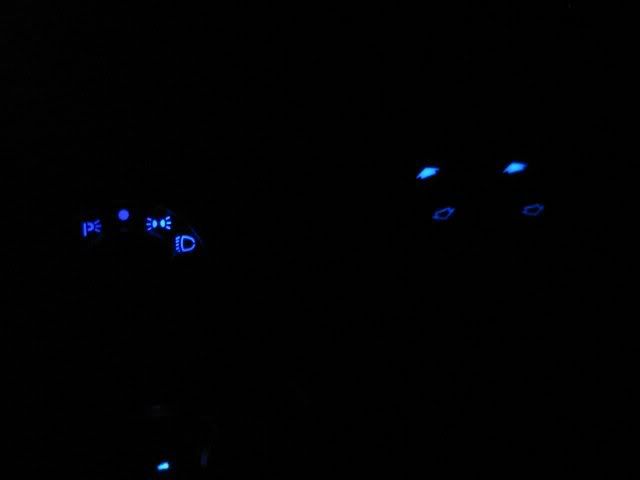
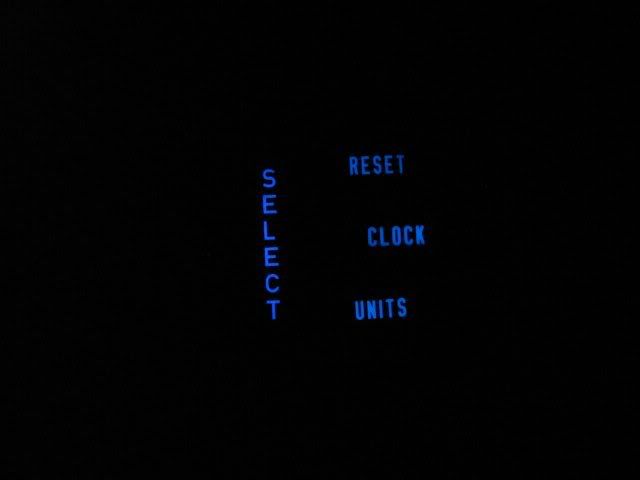
this all came about because i bought the mp3 radio and thought that the blue stood out too much on its own... figured it can't be that big a job to change a few interior lights :eek: and if i'm honest it wasn't really that hard.. jut took time and paitence...

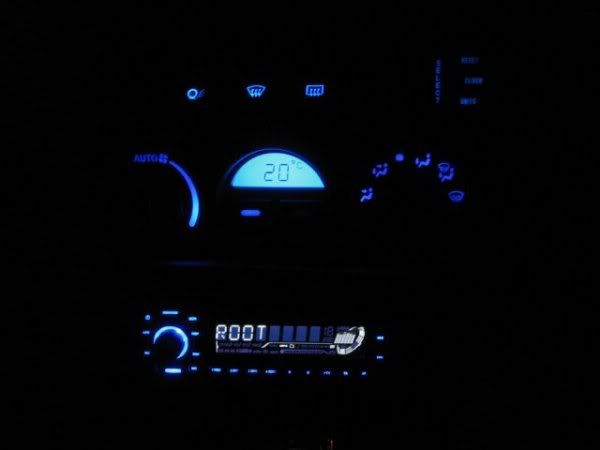
i used shag's replacement HVAC faceplates and they have proved very successful so far.. i know a few others out there have them and i'd like to ask u a quick question...
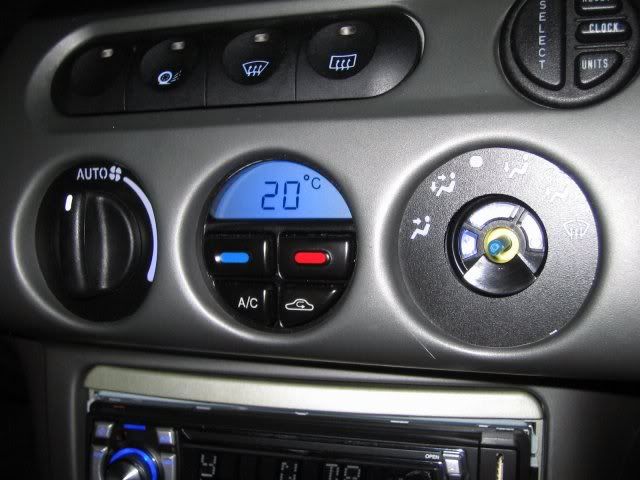
did u have any trouble getting the knobs to stay on the HVAC with the new faceplates??? one of mine (the airflow postition) will not stay on as the new faceplate sits prouder than the orig and doesn't concave in therefore the knob has less, or in my case none of the stalk to grip (see pic below)...
has anyone got any thoughts on how i could cure this?????

Picture018.jpg


also, does anyone know how u get the dimmer control switch to light up?? i found instructions for it somewhere before, i think on NECO, but can't find them anywhere now....

thanx
 
Hi Tom,

Looking good :D , far quicker than me tbh.....I'd be interested in how you did the HVAC. :wink:

Regarding the control knob, yes you are correct its not flush and i just put a piece of paper/card inside the knob so that when it attaches it stays on there. Basically were the male enters the female :eek: , put some paper in there which forms a kind of wedge.
 
im currently doing a how to for the switches but as i still have some to do it's a work in motion at the moment.. i'll email u a copy when i finish the part re the HVAC.. the HVAC is a bit tricky.. the hardest part i found was actually removing the LCD screen from the PCB, soldering the 1.5mm LEDs after that was a piece of pis& :eek:
 
I've got the aluminuim finish switch surrounds from shagmonkey mate. I haven't yet found a way to make the dials fix on really solid, mine are abit loose feeling, although they work fine and they are not going anywhere. If you come up with something please let me know.

The blue lights look great!!
 
I also found that the knob was loose & with the rotational stops no longer engaging it gave a sloppy feel to the controls, so I made up dials out of plastic sheet, as in the sketch & photo, so that the knob was slightly recessed & the rotational stops were recreated by the shape of the centre ring which is fitted to the underside of the dial.
I got some spare heater knobs from ebay (Mondeo ones are quite common) & removed the metal retaining clip from them, then used a piece of plastic rod, drilled the centre out so that the metal spring retaining clip was a force fit, inserted the clip into the drilled hole so that about 3-4mm was protruding ( the amount that the clip is recessed in the original knob), then applied some adhesive & inserted the exposed end of the clip into the boss of the original knob, this seems to give enough reinforcement to securely hold it together, as just glue alone didn't really provide enough strength.
Sorry it's a bit long winded, but I hope it's helpful.

Extendedboss.jpg


Spacer.jpg
 
im working on one at the moment.. hopefully i'll get it in the how to section soon...

feel free to ask any questions u have in the meantime tho...

oh btw.... are u any good with a soldering iron???

i ask because the ONLY way to do the HVAC (Heating, Ventaliation, Air Con) LCD panel and trip controller switch is to solder 9x surface mounted LED's into place - these are about 1.5mm x 1.0mm in size and are VERY tricky to do! AND u have to worry about getting the HVAC LCD screen off and on again in the first place...

Unless u're good with a soldering iron (or know someone who is) i'd leave the interior lights mod alone unless u don't mind a half white / half green interior.. lol
 
tom_the_paddy said:
im working on one at the moment.. hopefully i'll get it in the how to section soon...

feel free to ask any questions u have in the meantime tho...

oh btw.... are u any good with a soldering iron???

i ask because the ONLY way to do the HVAC (Heating, Ventaliation, Air Con) LCD panel and trip controller switch is to solder 9x surface mounted LED's into place - these are about 1.5mm x 1.0mm in size and are VERY tricky to do! AND u have to worry about getting the HVAC LCD screen off and on again in the first place...

Unless u're good with a soldering iron (or know someone who is) i'd leave the interior lights mod alone unless u don't mind a half white / half green interior.. lol


Sounds good, could be nice to follow a "how-to" on this one...

Concerning the soldering iron how hard can it be hehe... :D If I remember correct I was really good back at carpentry class in 6 grade... :LOL:

Green/white would be even worse, but I really hate ford for using green on most of their cars... :evil:
 
Re: hmm...

xemplarcougar said:
How about the interior light dimmer switch, is there no light in that one? :?:

Yes there is but its not connected, i had this same topic a while back, you need to wire a separate feed to one of the contacts at the rear of the switch.
 
Looks good, wasnt there Blue dail back lit kits from the US with slightly different designs over the factory look?
 
does anyone know were you can find the aluminum plate for the A/C controls ???
Extendedboss.jpg

moz-screenshot.jpg
moz-screenshot-1.jpg
 
i see you have changed LCD color. looks great(y)
few months ago i tried to do the same. Results: broken lcd. :mad5: how do you removed LCD without brokening it?
and also i had problem with removing that green filter. Results: holes in HVAC faceplate:mad5: +figure it out that is made of green plastic... thanks to neco how to....
so there comes anoter question: how do you remove that green filter/plastic? or you used shagmonkeys faceplate? thanks for help