Painting the dash...HVAC panel/Light Switch surround/ash-tray

ginja

Well-known user
Sep 20, 2004
9,273
405
Atherstone, North Warwickshire
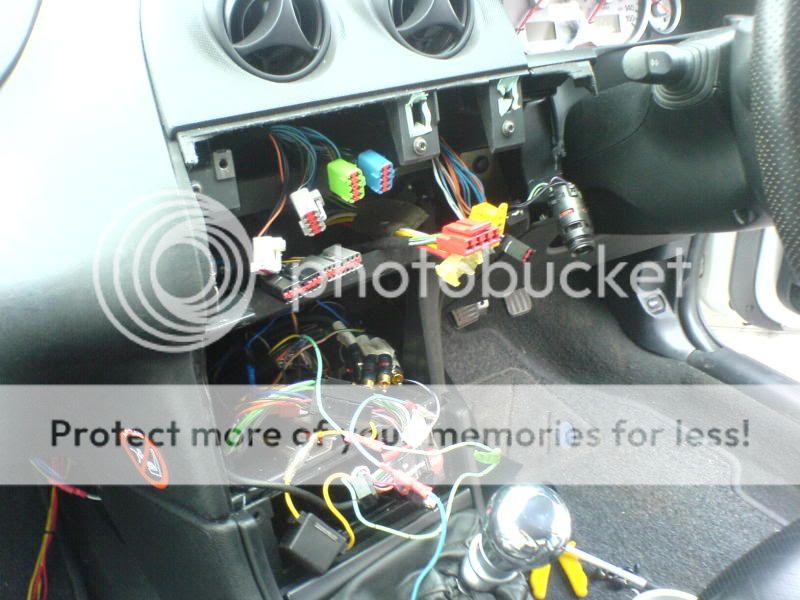
Well I had two choices today, wash the cat or finally get round to re-spraying the dash (I figured its not use washing cat just yet)

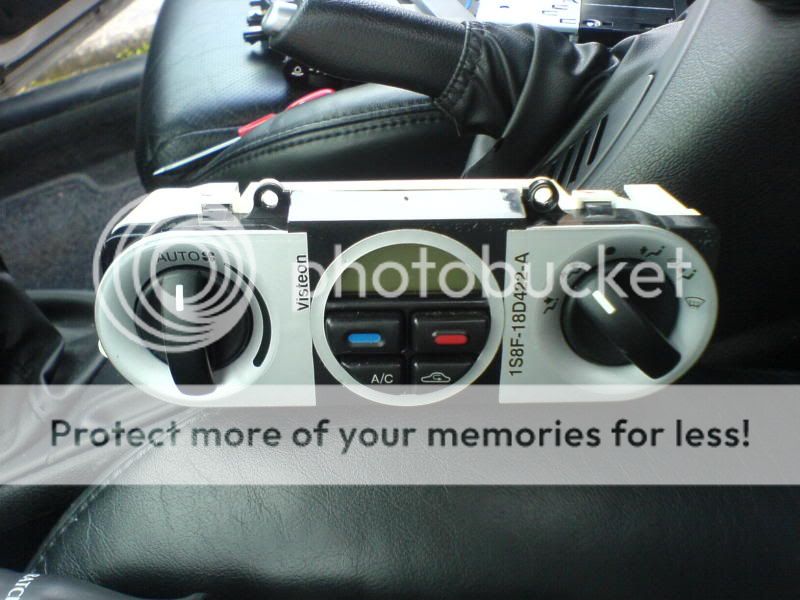
Got a HVAC dash panel off Beggers20 when we striped his car, and going on from a previous thread wanted to spray it gloss black to match my stereo. Easy you might think...not so as you will see (Rob will agree with me) :nonod::nonod:

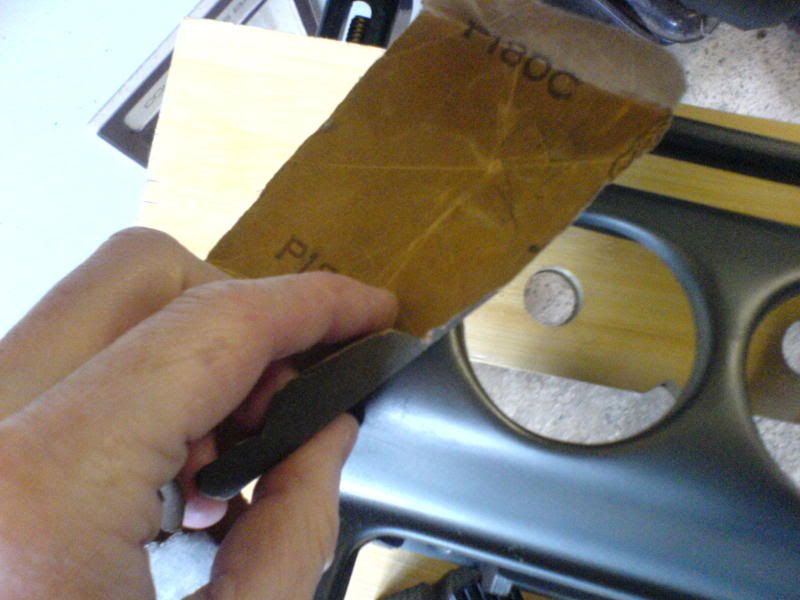
1st off had to sand down the dash panel to get the primer to stick
DSC01924.jpg

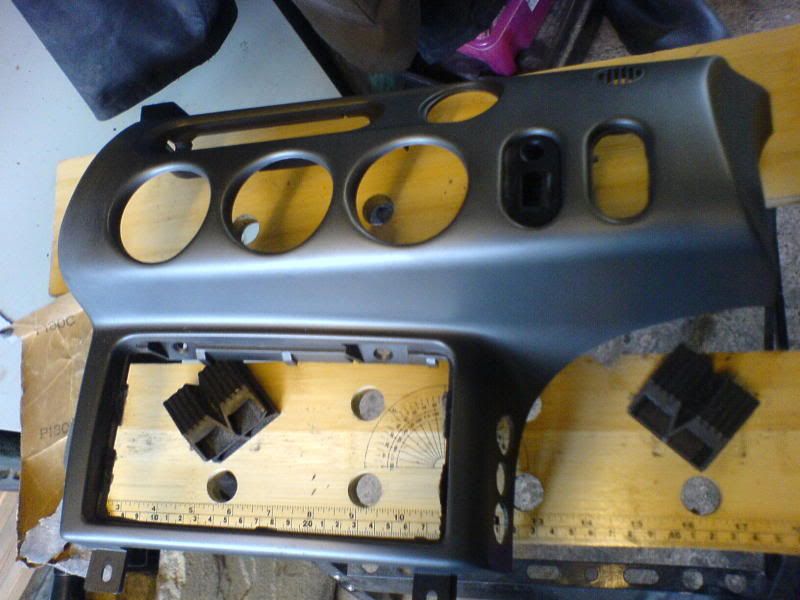
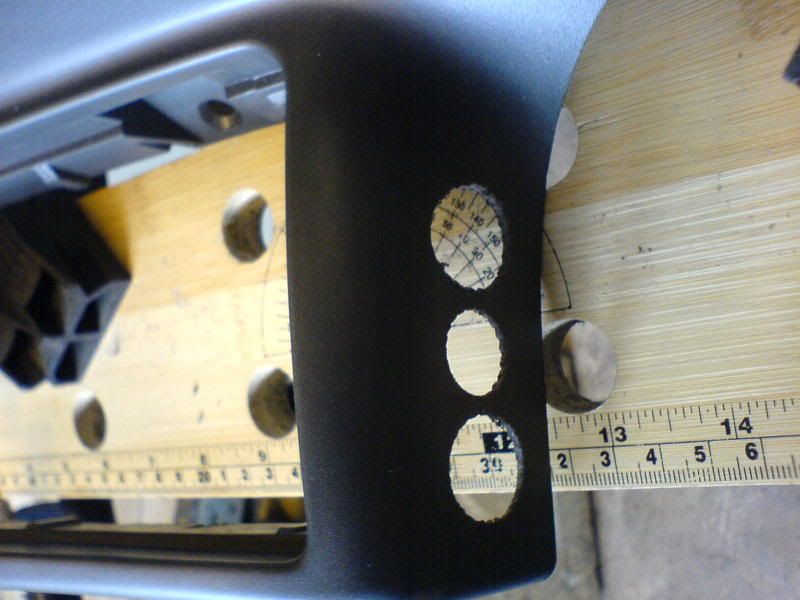
I'd pre-drilled holes for my LED light switch-gear
DSC01925.jpg

Got the 180 grit out and gave the panel a good going over (should have washed it in some washing up liquid 1st, as you will see later, to get rid of grease/wax) and the other items I was going to spray: Light switch panel/Ash-tray/Lighter surround
DSC01926.jpg

DSC01927.jpg

DSC01928.jpg

Now that was all well and good, however after spraying on the 1st coat of primer it all went a bit "Pete tong"...the primer bubbled up and I made a right hash of re-sanding the items back down for another coat.:confused::nono:
DSC01933.jpg

DSC01934.jpg

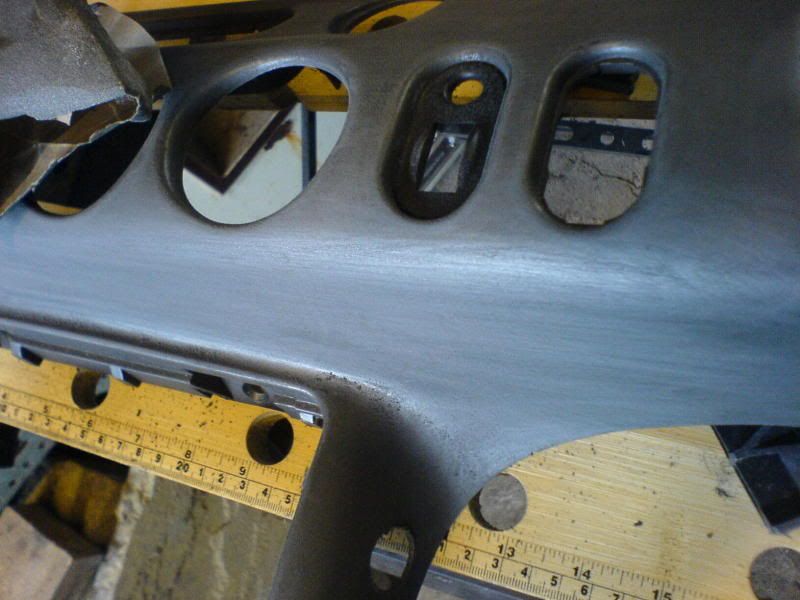
The Dash panel wasn't so much of a pain for some reason
DSC01937.jpg

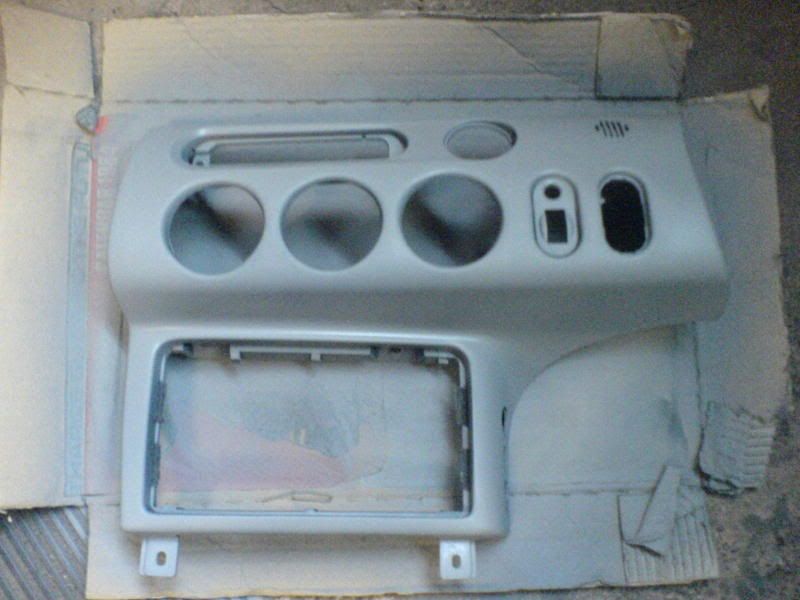
After a few coats of primer the other panels looked OK
DSC01939.jpg


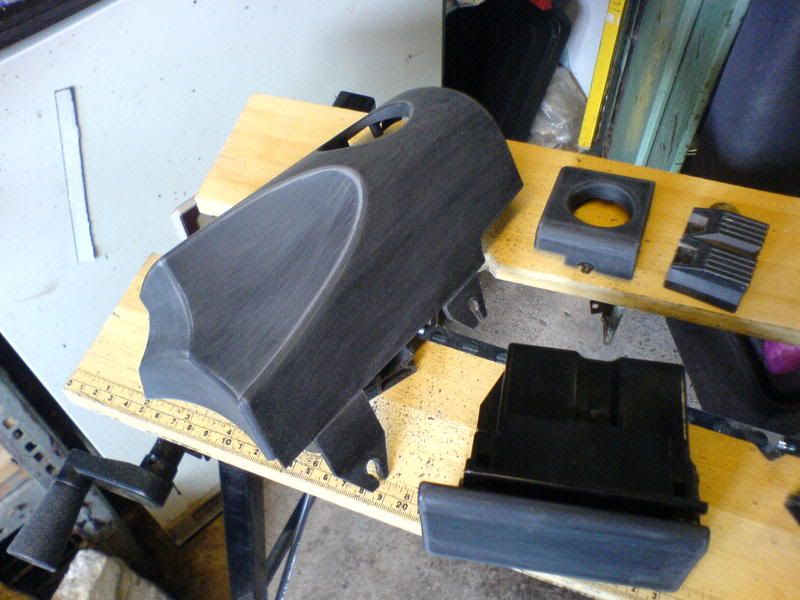
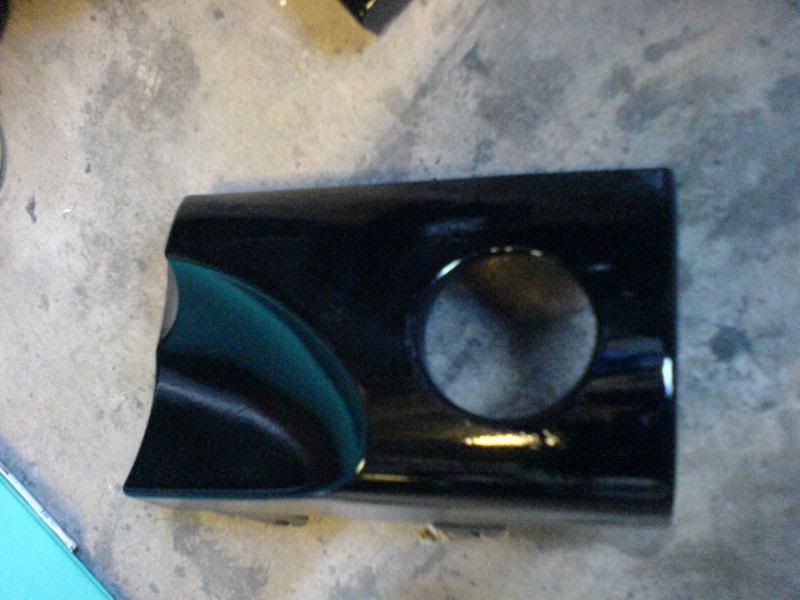
Now for the paint: Halfords Gloss Black, nothing fancy.
DSC01943.jpg

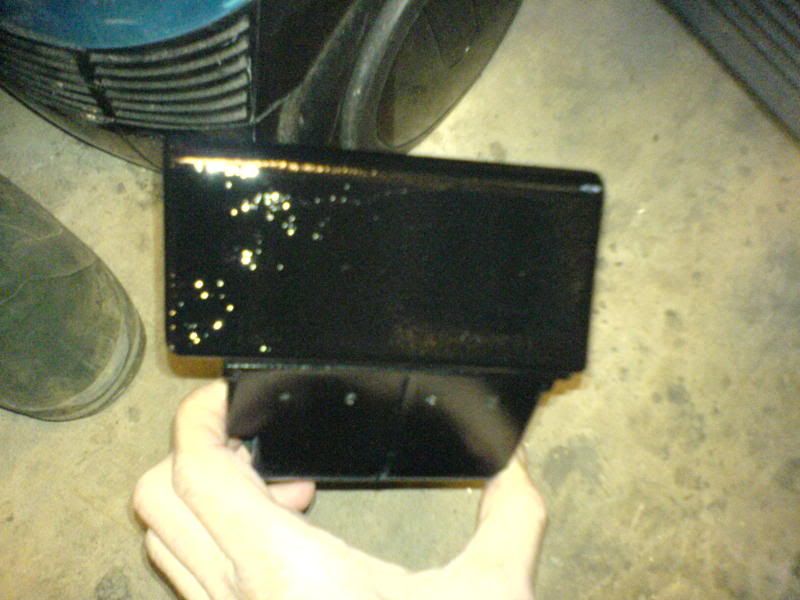
Thought it had gone on well but a slight run caused more hassle :mad:
especially the ash-tray :mad2:
DSC01948.jpg

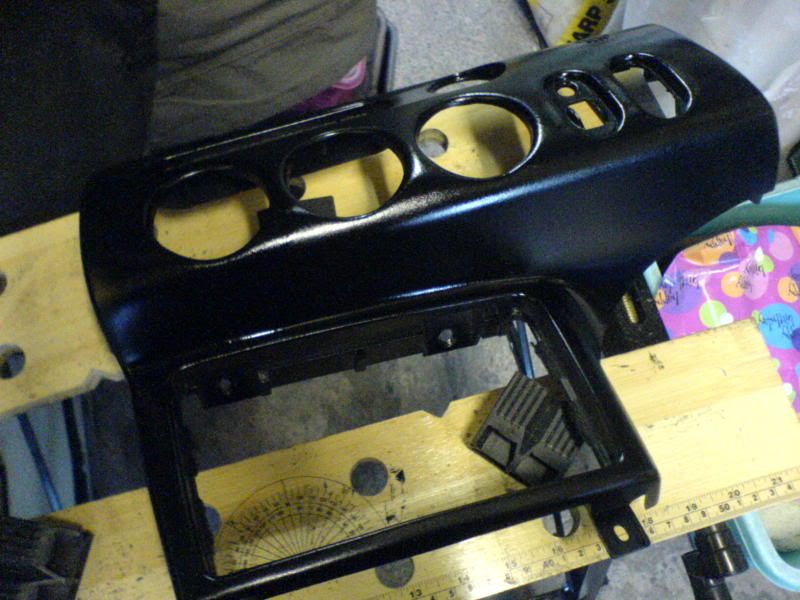
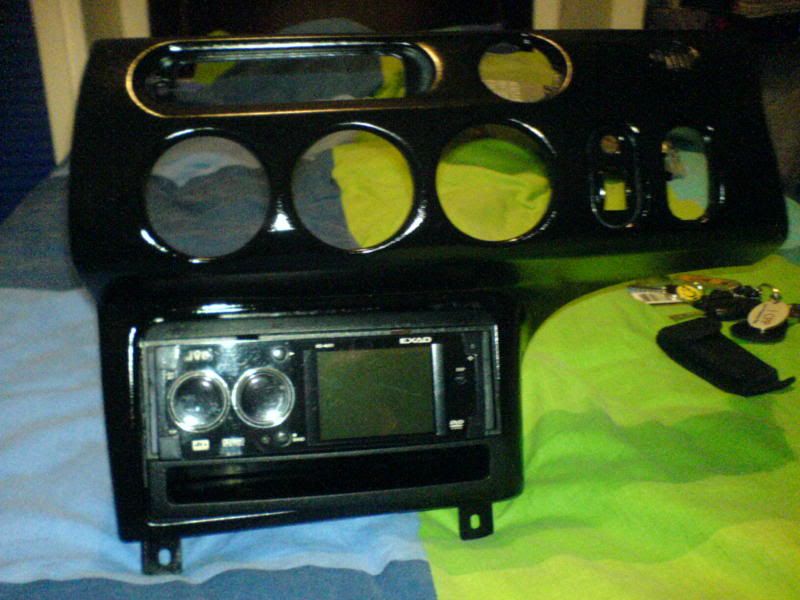
But the main dash unit is fine
DSC01946.jpg


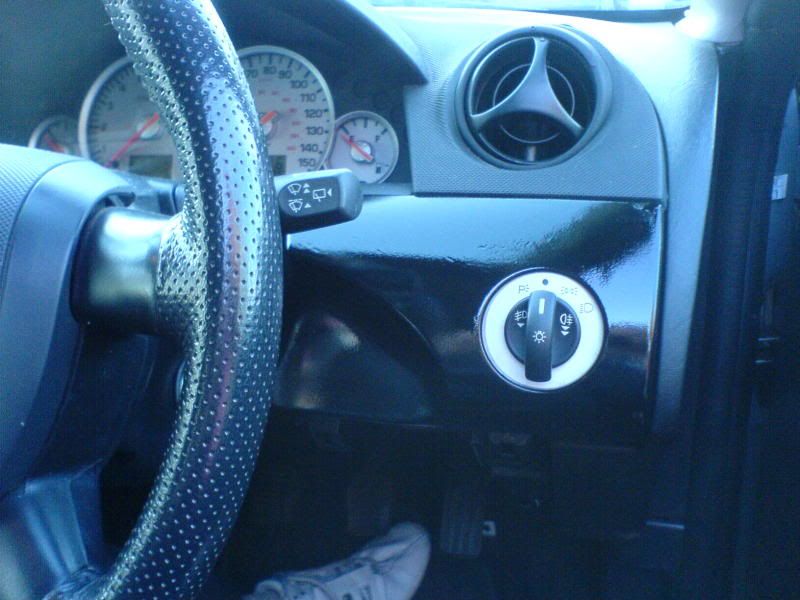
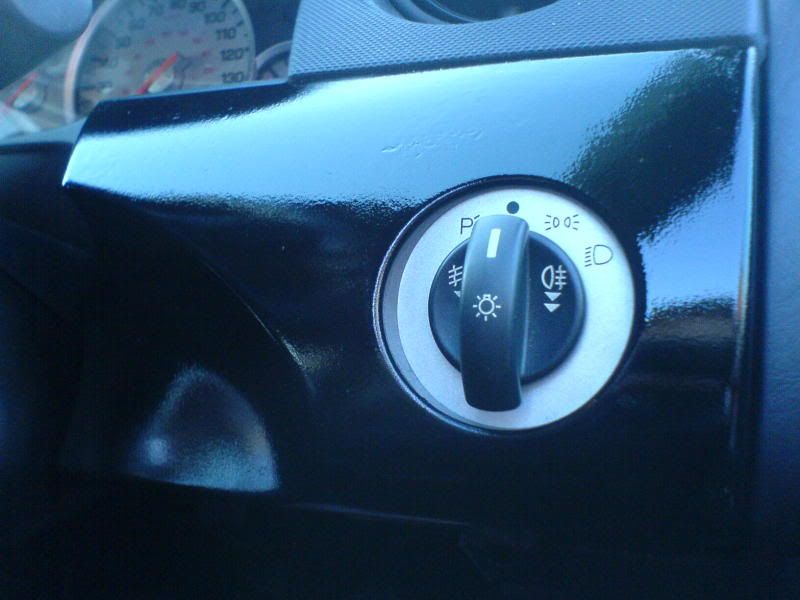
Fixed the light switch unit in the car (after applying a couple of coats of clear lacquer) its OK but there are imperfections :sosp::frown2:
DSC01949.jpg

DSC01951.jpg

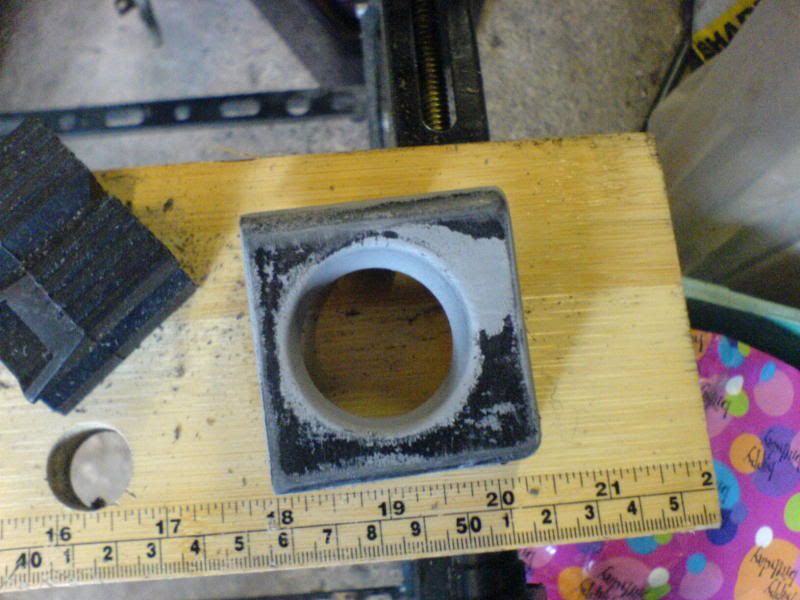
Sorted the ash-tray by using a small plaque I'd had for a few years now.
DSC01952.jpg

DSC01953.jpg

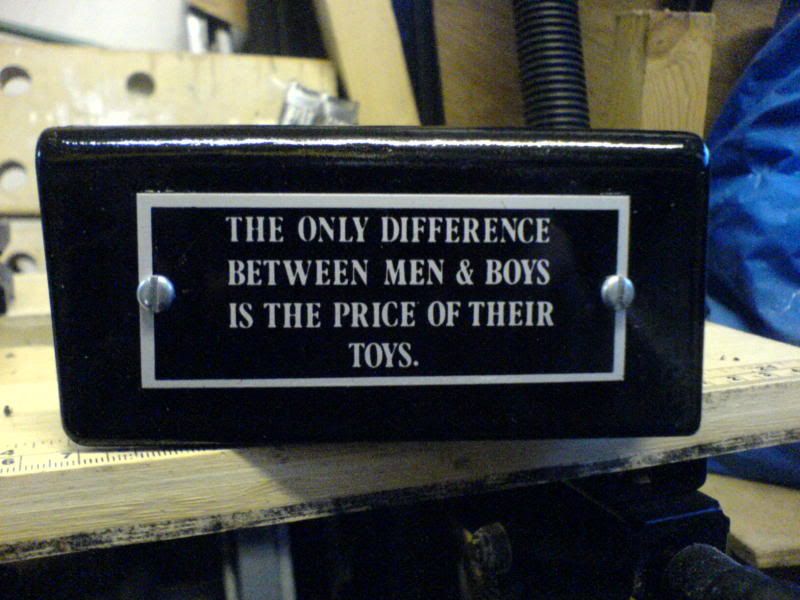
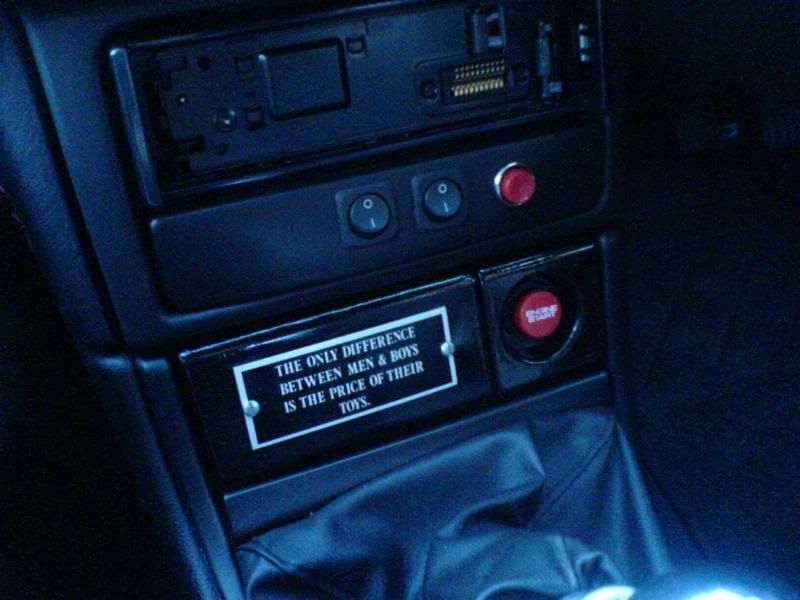
It looks good (although the screws holding the plaque on don't allow it top open) :( doh!

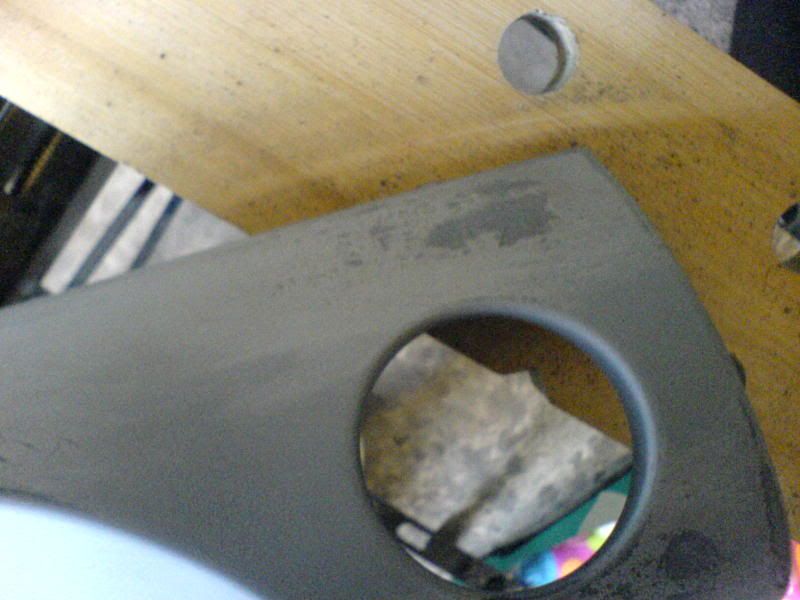
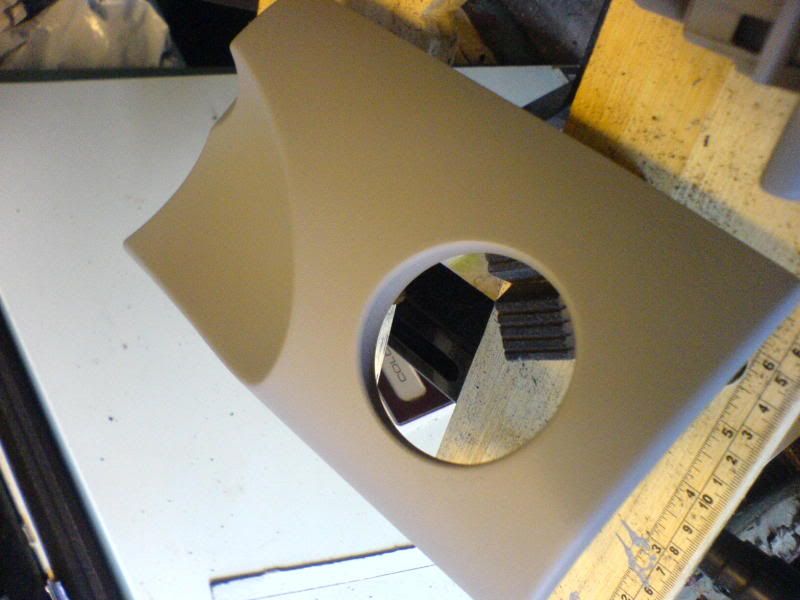
The final panel will look something like this when the stereo is installed in a new insert (with pocket, from Active) but that will have to be next week now. (y)
DSC01955.jpg
 
Last edited:
Looking ok Matt, you have been busy. Did you use plastic primer? a common mistake made by a lot of people. You only need to scrub the painted surfaces with washing up liquid and scotchbrite or one of the washing up sponges. Scott made the same mistake with his rear light covers, because they're plastic doesn't mean you have to use plastic primer. Buy a can of Halfords brand ordinary grey primer if you have any more problems.
 
I was going to buy normal primer but the devil on my shoulder made me do it.....arrrrrgghhh!! :LOL:

It looks good, but I'm getting high from the fumes as it flashes off (the HVAC panel is in my room and all I can smell is paint laquer)
 
Well not to worry as i've used it all up now. Will post more pics up when I get round to fitting the stereo into the new dash panel (gona be a real B!@Ch re-wiring) and the existing switches (which I'd only just moved)

At least I found out we had some Torx screw-driver bits in the house so thats a worry off my mind (like how was I gona get the old dash out?)
 
looks good but looks like you made a simple mistake, not letting the paint cure ;)

when i painted my last cars body kit, i would sand progressively through the grits, plastic prime, cure, base coats dusty, then thick to get a good finish, then 1200 grit, 2000 grit, 3000 grit wt n dry isn some soapy water, followed up with the clearcote, cure, then more 2500 grit wet n dry, then g3 it to make it mirror like ;)

takes about 5 days in al, so not for the impatient

all depends how mirrored you want it to look really

look into the tack times of the lacquer too :)
honesty though, looks bloody good for a weekends work! should be dead pleased with that :)
 
Nice one Matt, as above with the sanding - you needed to use different grades. When I was doing my rear lenses - I went to a car body shop and bought the correct grade paper for doing the job. But like sc9ar said, nice job dring the time you did it.

What are the buttons under your stereo for? you know the two black switches and then the red one next to them? You got push button start???

DSC01953.jpg
 
Push start is the large red button were the cigar lighter would usally be, the others are (Left to Right) LEDS [Blue ones in lights & Green in A-pillars] Strobes [Red ones in lights] Strobe Patern control [small red button]

I'll admit I didn't try as hard as I would usually (look at the feature I did on spraying my wheels if you can) and didn't allow sufficent prep time like it says on the can (although the plastic primer from Halfords is rubbish I'll admit that) but allowing for the result I got on my IMRC cover I threw caution to the wind and went ahead anyway....the famous last words of a fool..;) still the main panel is ok so thats all that matters to me at the moment (although NEXT time I'll be more patient)

The spraying was done all in ONE day not a weekend....silly me I know, but I don't have the time to get it done properly. :(


Hell its only my own car if I've ruined it:skep: :sad: :D:ihih:
 
Well today was the day, nice weather and lots of time. :skep: Is it ever that easy?

Anyway started out by removing the stereo & a blanking plate....I wasn't joking when I said it would be a wiring nightmare [see pic]
DSC01956.jpg

DSC01957.jpg

3 x Phono connections [Front/Rear/Sub], 1 x Video connection, Aerial Connection, DAB tuner connection, Rear-camera switch lead, Power&Earth leads, plus another 10 or so cables that are not connected!
Just a case of marking them up for later. This was the easy part :frown2: :sosp:

The car looked like this once I'd removed the stereo
DSC01958.jpg

not something I like doing as you have to reset all the commands after.

The HVAC panel was my next job, easy enough to remove (once you know what your doing and were the TORX bolts are) unlike someone who had removed it before [an auto electrician fixing a wiring fault I'd had] :nono::nono:
Whats missing from this picture?
DSC01959.jpg

Yeah you got it a TORX bolt and the clip that would hold it :mad: all in all there are "Supposed to be" 5 TORX bolts holding the panel to the dash, I found THREE:eek: 
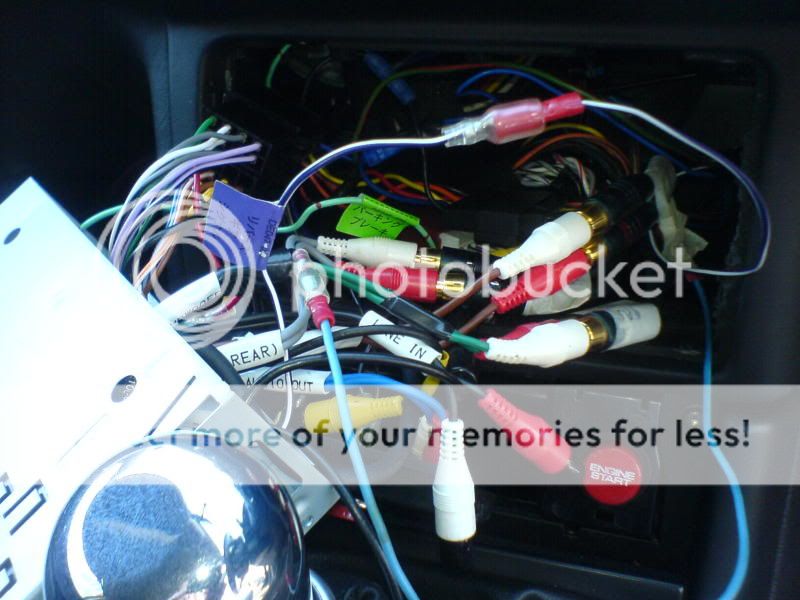
(2 at the bottom and one in the stereo recess)
Still after scraping my knuckles on the inside of the dash a few times I finally got the wiring disconnected....man its awkward to work in the confined space.
DSC01960.jpg

getting worried now that I've gone too far :(:( I suppose having a dirty great hole in your dash does that to you...swapped over the parts to the painted dash panel (easy job) the C2 HVAC controls look like this [see below] made by Visteon
DSC01961.jpg

all going well I got to fitting the new panel in :frown2::frown2::frown2: disaster, the holes that I'd drilled for the light switches were ok...however the switches themselves caught on the inside of the dash (I didn't realize there was going to be anything behind the panel) so a Major re-think had to happen. Luckily I had some blanking rubbers so I blocked the holes up (It don't look that bad) but i still had to unwire all the dash controls again to get the HVAC panel off. Still after much cursing :mad2: [I actually punched the garage door] :incazzato: I finally got the new stereo surround/pocket fitted (another job that took too long) and the stereo back in and working....(y)
DSC01962.jpg

You have to admit it does look worth the effort, if not a little rough around the edges [hell the thing was in there two minutes and was picking up dust, now I know how you BLACK cats feel]

Time for completion: 11:30am to 2:45pm :sosp: long time.

Would I do it again.....:dita:.....not until the next time :D:D :LOL:
 
Cracking job Matt, although can understand the frustrating moments (punching garage door...Ouch! the knuckles...lol). Where are you going to relocate the switches for the leds and strobes??? Are you going to re-locate them at all??
 
Cracking job Matt, although can understand the frustrating moments (punching garage door...Ouch! the knuckles...lol). Where are you going to relocate the switches for the leds and strobes??? Are you going to re-locate them at all??
Yeah dont try that at home kids i'm a profesional :ihih: (kung-fu tends to toughthen your knuckles)

I've ended up placing the switches down the edge of the center console, they are just clicked underneath, nothing special. The blanking rubbers and gromit could be used for something else in the future I guess, keep the wirring neat? (Phone/Sat-Nav/I-pod etc???)


I probably wont use them, although I did by a "Snooper" off Alan Pid a couple of months back and I've never got it installed yet :idea: