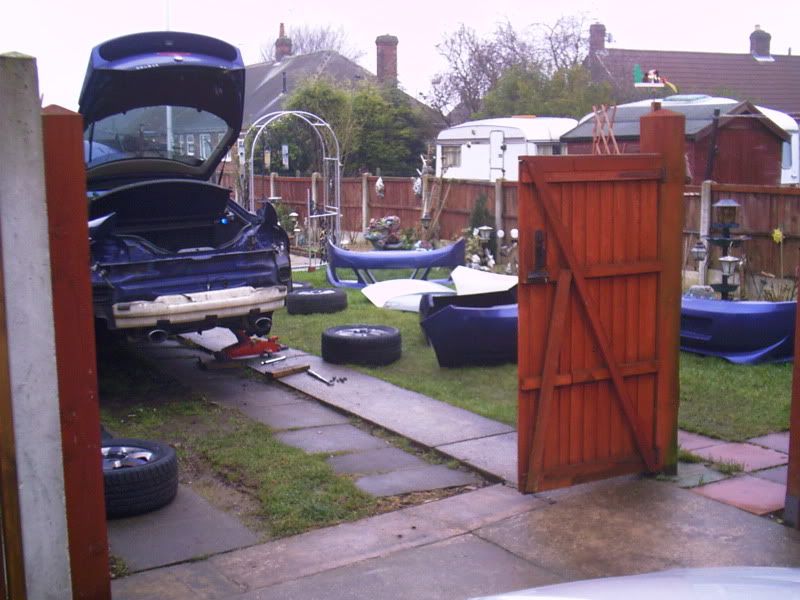
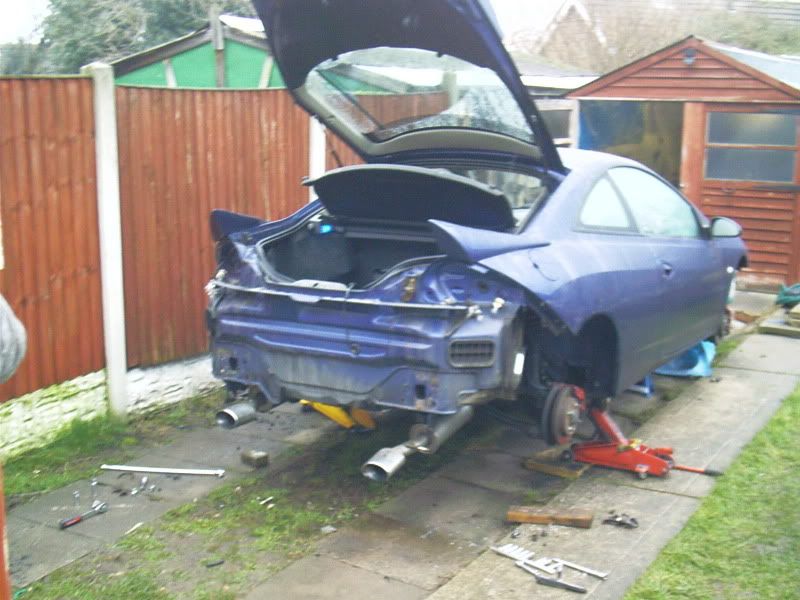
Some will know where this is heading, some will just have to wait and see. With this bad cold weather and freezing temps, then the interuptions day by day, its been difficult getting the painting done, so, here is the best of two weeks work so far!
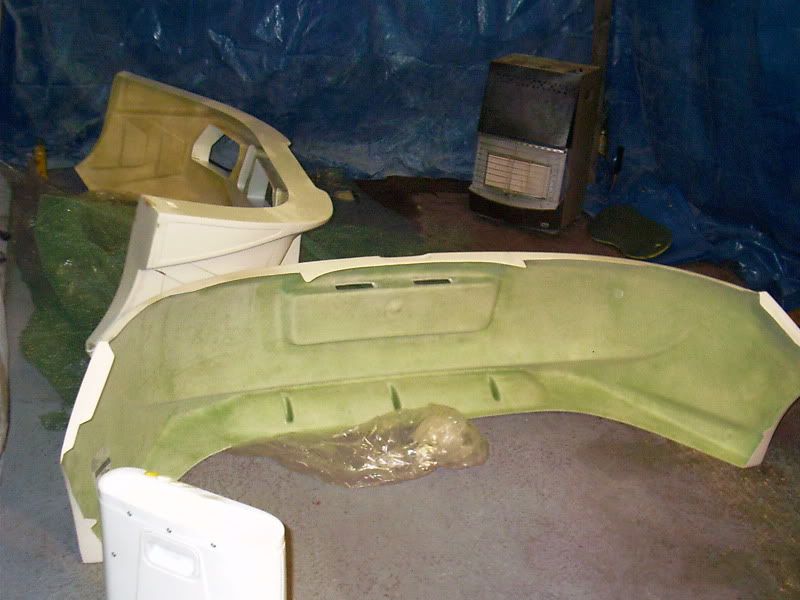
Work has to start somewhere, so, i'll start by getting them cleaned up ready for some primer coats.
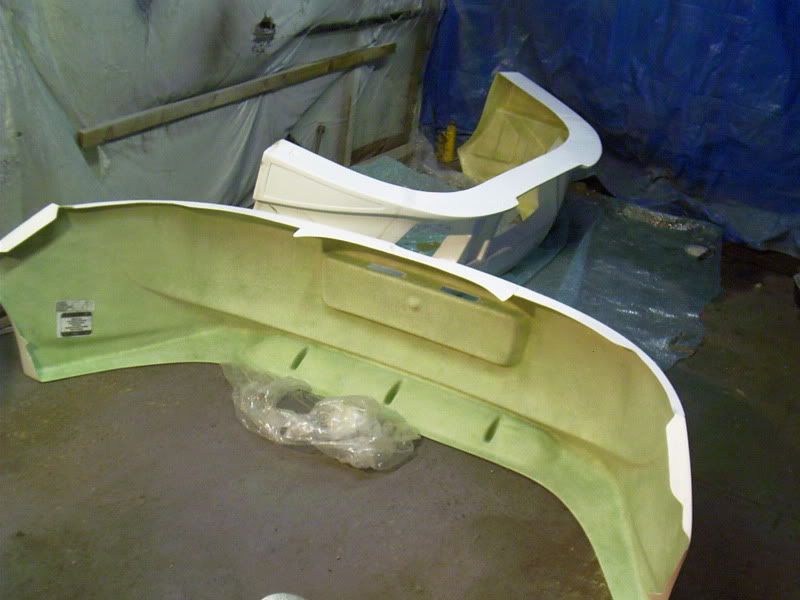

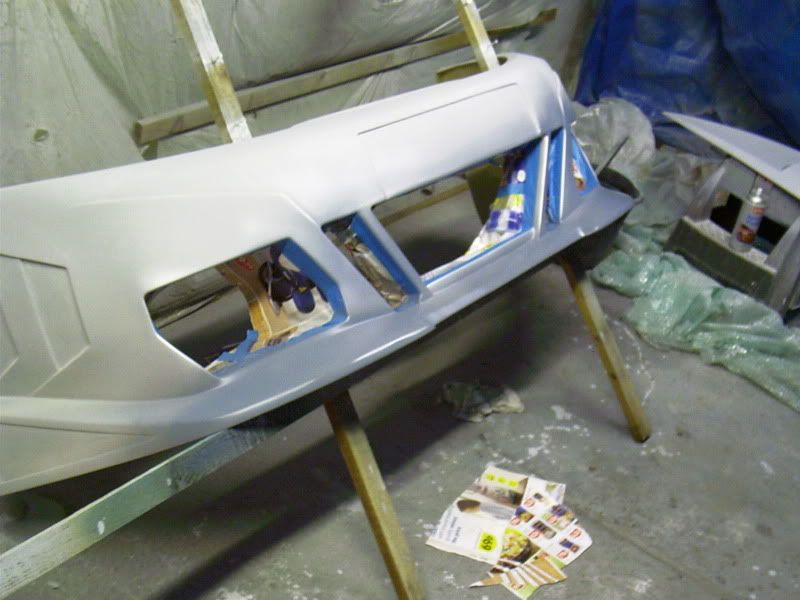
Sequence missing but, rear bumper with primer. Also managed to get the cut-outs sprayed silver and masked, then some more prepping on the leading edges, this F/B kit had a few dings that needed filling, but all looking good so far
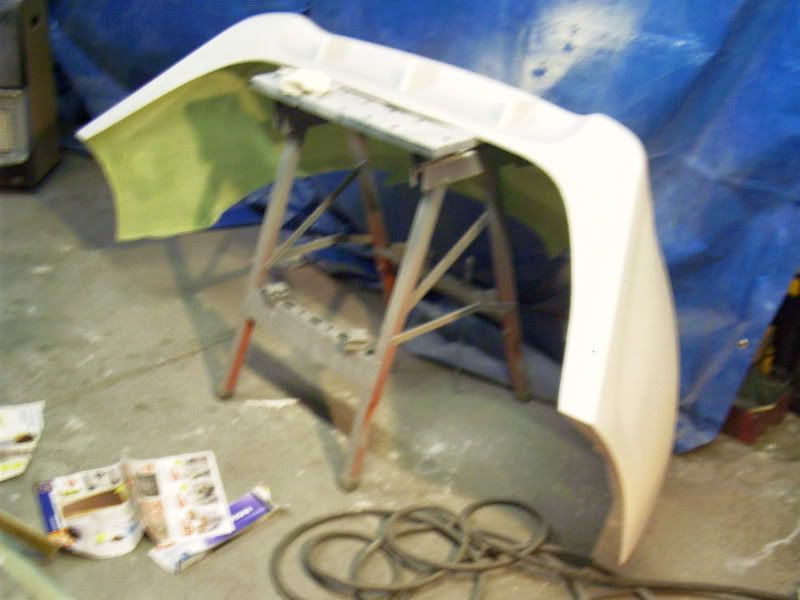
One more blast of grey primer and she'll be ready for a good basecoat.

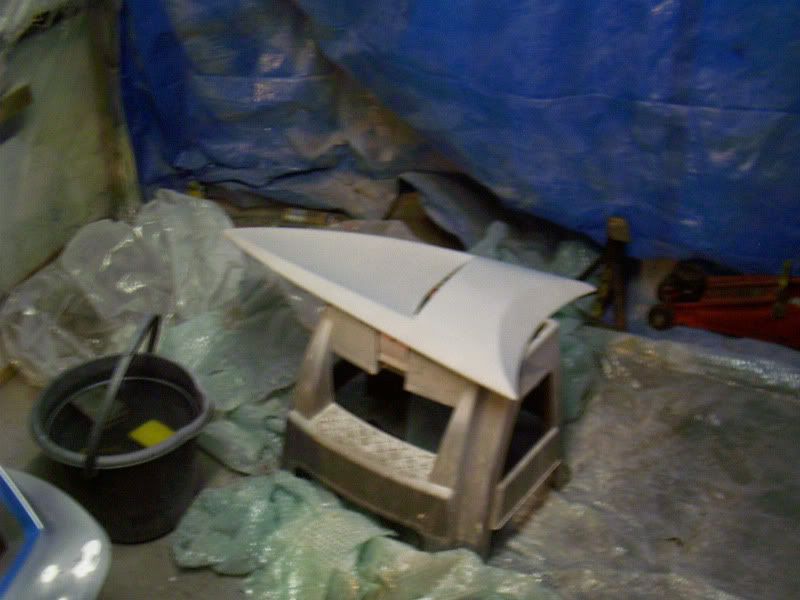
Some of the more observant might have noticed this in the corner :idea ossibly one of the very last ever made :
Other than that, it's been a very quiet 2 weeks, with loads of spare time on my hands, i even had time for some sleep and a spot of dinner today
More tomorrow
Day two:
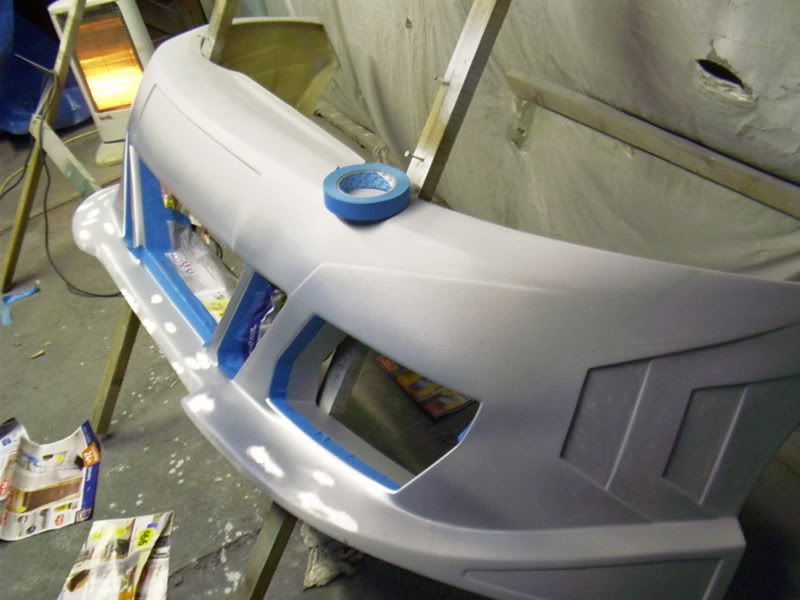
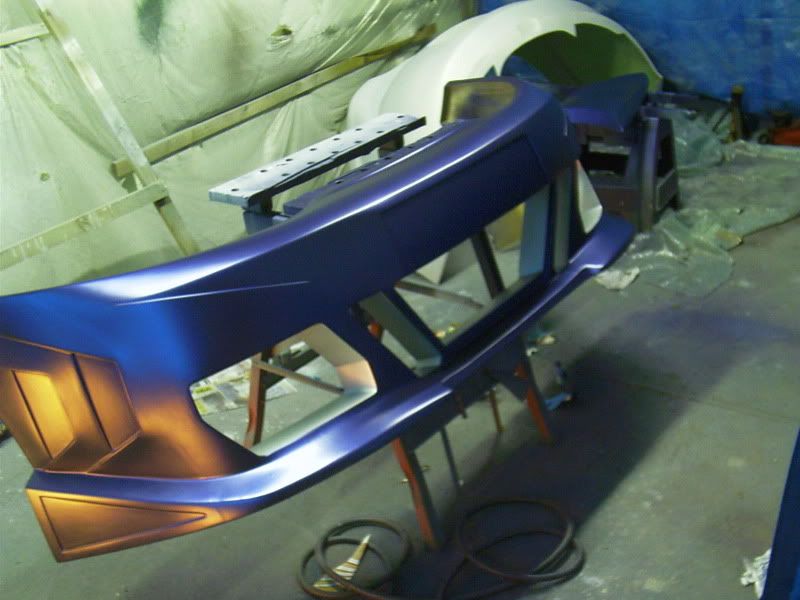
So i got some more paint, and its all masked up ready for the blurple stuff.
Start with a quick dusting coat, and then a good top coat ready for de-masking and laquer:

.
Off with the masking tape:
.
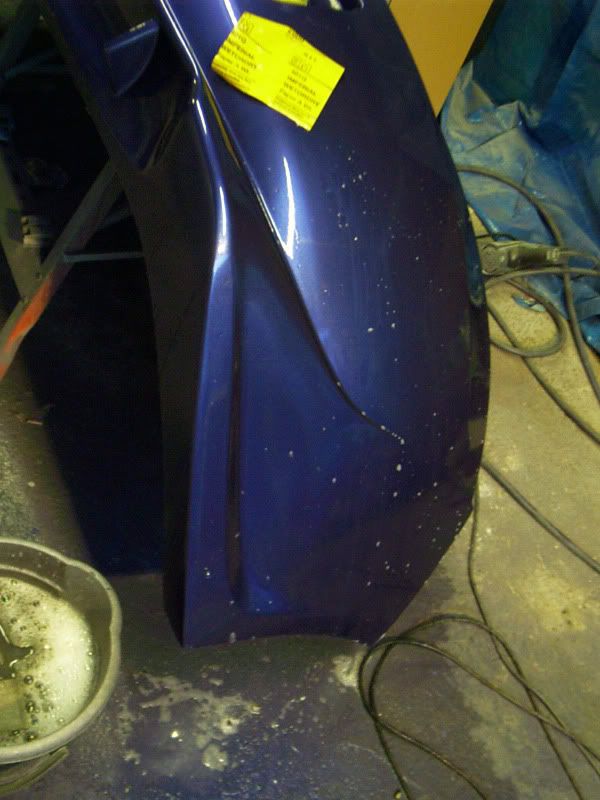
And then we get some laquer onto it and things start to look a little more shiney:
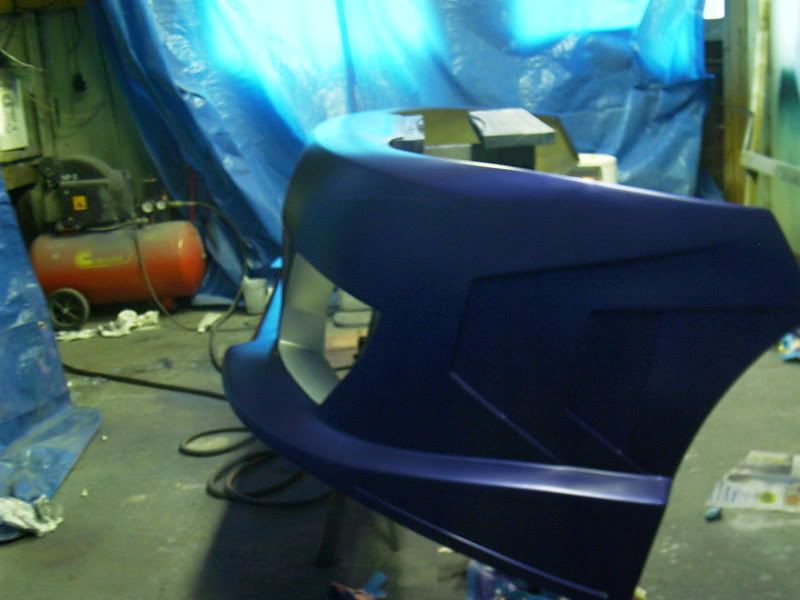
...and shinier:
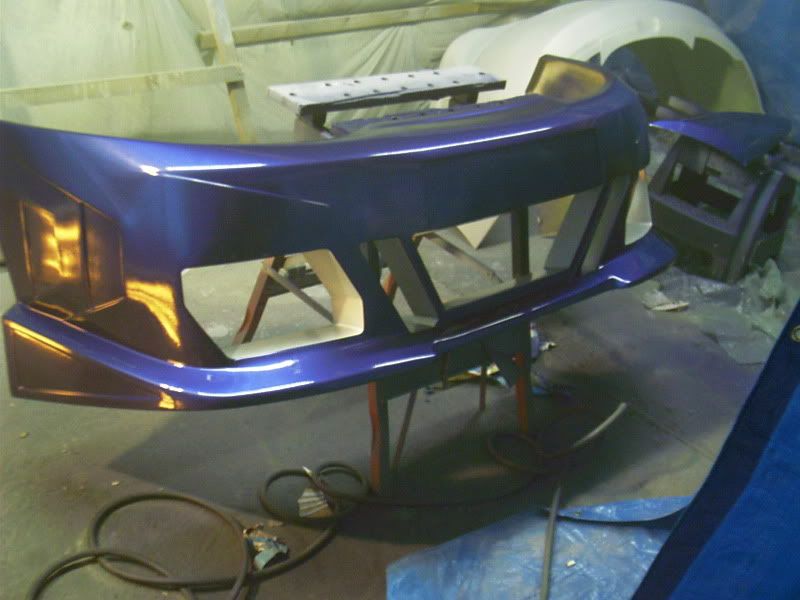
.
Some de-nibbing tomorrow and then fit the grill meshings, then i can make room to get the rear one done.
Another update:
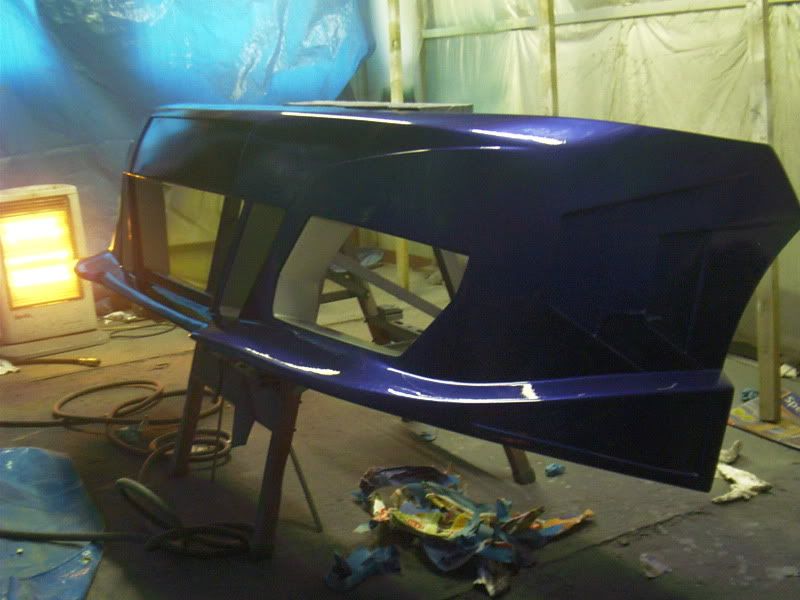
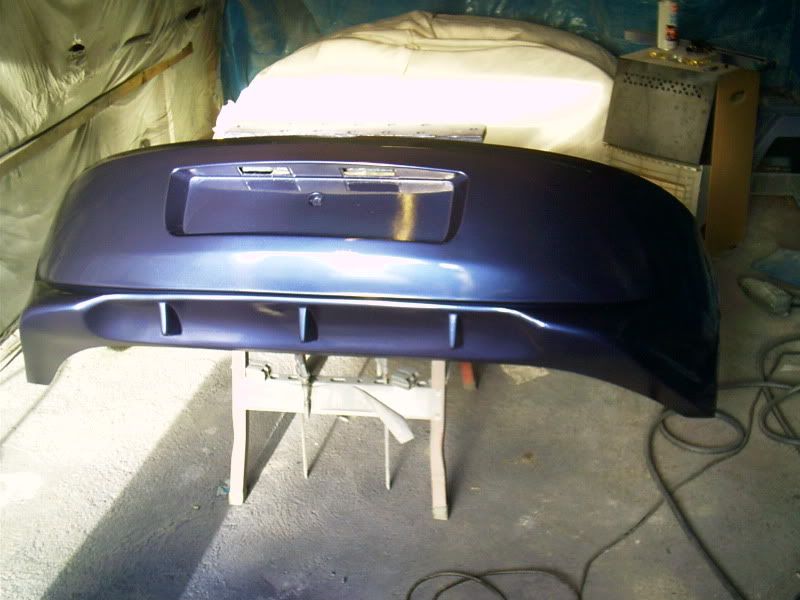
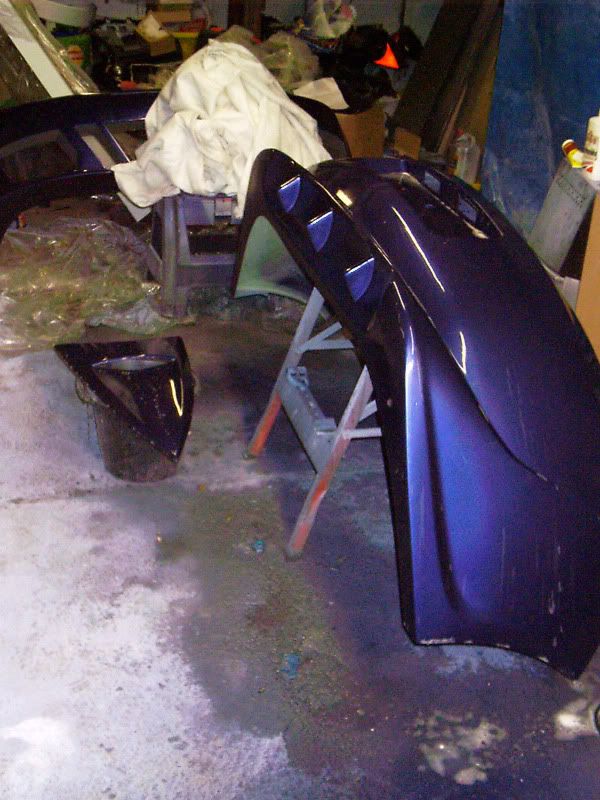
Rear bumper done and now for some de-nibbing (smoothing and polishing)
.
Loads of water and 1500 grit wet/dry and plenty of elbow grease, thirsty work this.
.
Looking good and close to a final polishing. That scoops looking ok aswell :ihih:
.
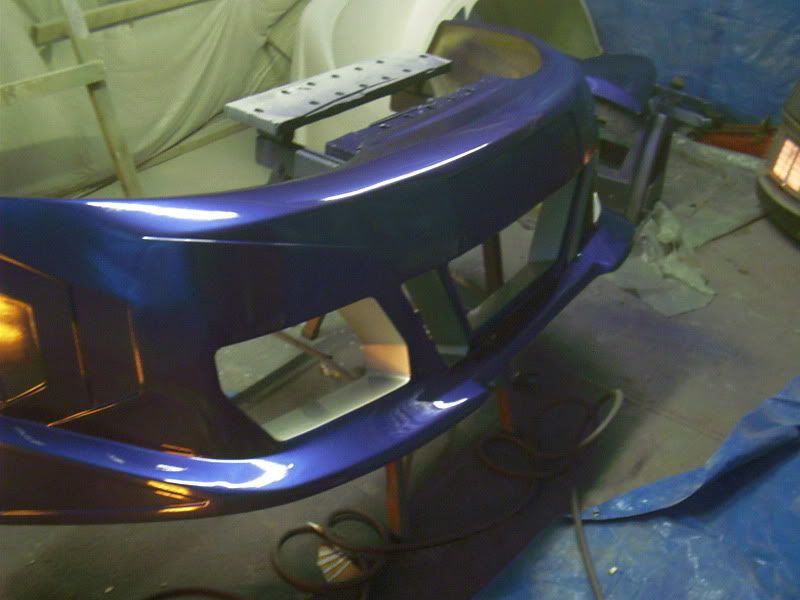
Also fitted the meshing to the front bumper today.
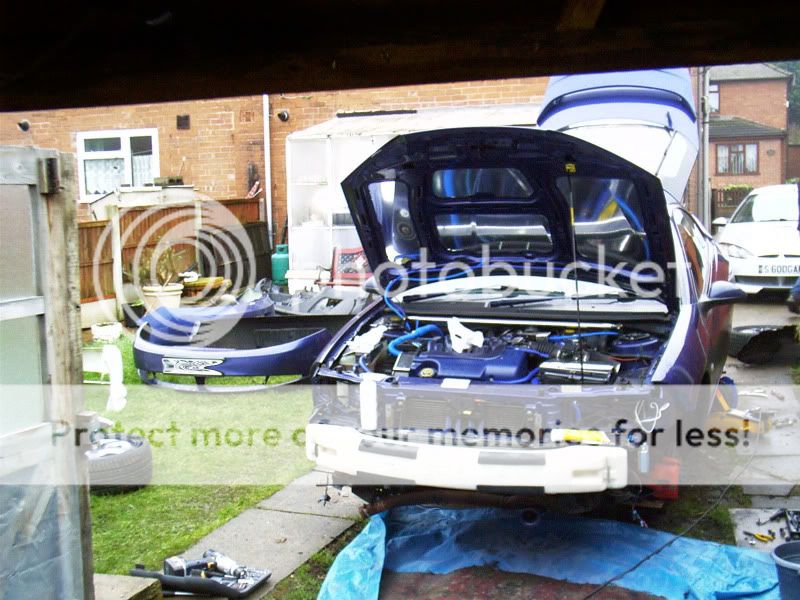
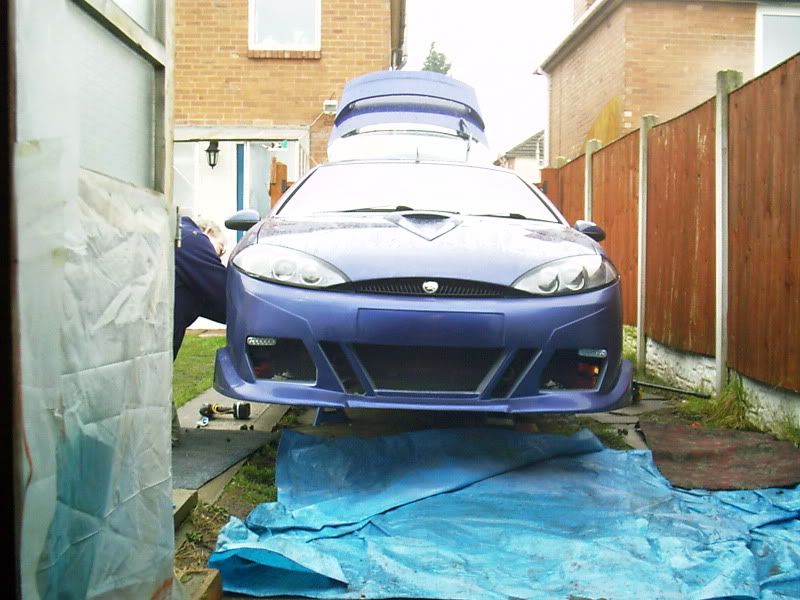
This kit is now ready for fitting, minus the side skirts
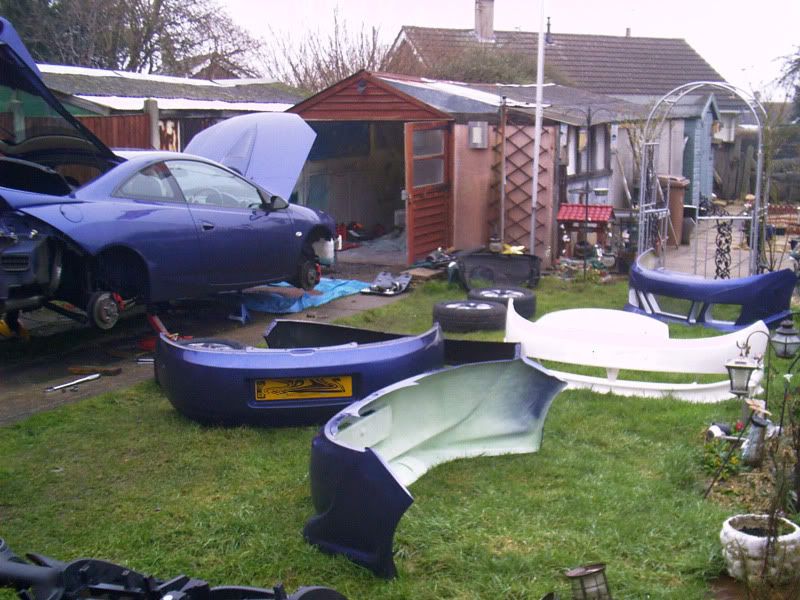
Fitting update:
Basically, the front is a pleasure to put on, although some minor tweaking was needed for wheel clearance at the inner front arch as the tyre was scrubbing on it.
The rear, was a real pig to fit,with the inner bumper needing to be removed or at minimum, cut down so much that it would be virtually useless.
The shell itself was too flared, and so had to be forced into line with the rear quarter fixing points.
A lot of odd niggly little puzzles were solved today. Improvisation was a good tool to have with this kit. Anyway, i'm knackered so heres a few piccies from this weekends work.
Bumpers anyone?
.
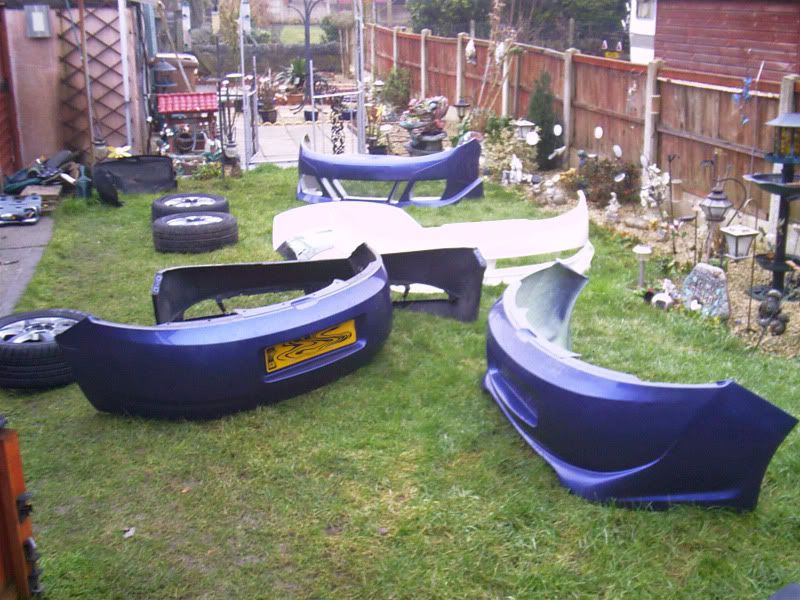
Notice the white bumper bar! Gone!
.
Front end ready for the new!
.
...and on with the new rear bumper, finally fixed and waiting for the final polish.
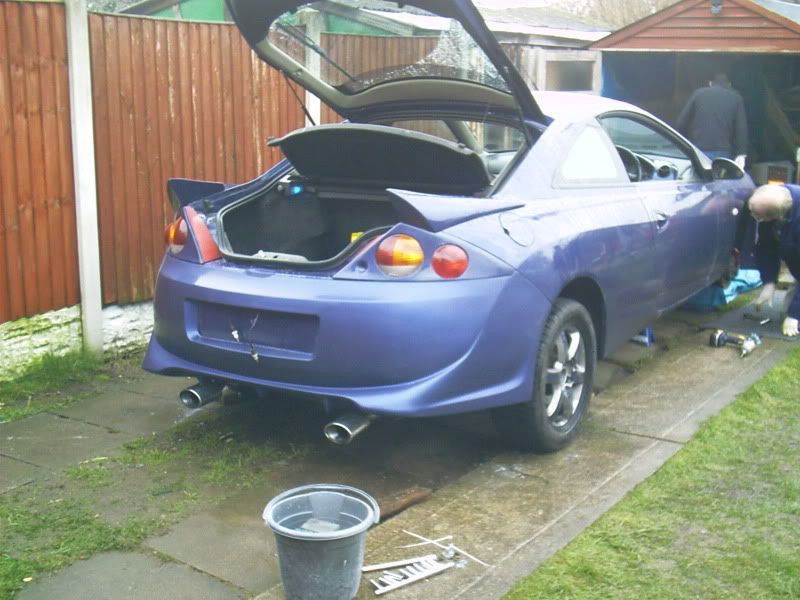
.
....and the one I know Jason has been waiting to see, alas, it was dark before we could get this out onto the road, so only these photos, hopefully the new owner will get some proper roadside photos soon.
It's on, now for the wheels and to get the jacks out and some final polishing:
.
.

.
Work has to start somewhere, so, i'll start by getting them cleaned up ready for some primer coats.
Sequence missing but, rear bumper with primer. Also managed to get the cut-outs sprayed silver and masked, then some more prepping on the leading edges, this F/B kit had a few dings that needed filling, but all looking good so far
One more blast of grey primer and she'll be ready for a good basecoat.
Some of the more observant might have noticed this in the corner :idea
ossibly one of the very last ever made :
Other than that, it's been a very quiet 2 weeks, with loads of spare time on my hands, i even had time for some sleep and a spot of dinner today
More tomorrow
Day two:
So i got some more paint, and its all masked up ready for the blurple stuff.
Start with a quick dusting coat, and then a good top coat ready for de-masking and laquer:
.
Off with the masking tape:
.
And then we get some laquer onto it and things start to look a little more shiney:
...and shinier:
.
Some de-nibbing tomorrow and then fit the grill meshings, then i can make room to get the rear one done.
Another update:
Rear bumper done and now for some de-nibbing (smoothing and polishing)
.
Loads of water and 1500 grit wet/dry and plenty of elbow grease, thirsty work this.
.
Looking good and close to a final polishing. That scoops looking ok aswell :ihih:
.
Also fitted the meshing to the front bumper today.
This kit is now ready for fitting, minus the side skirts
Fitting update:
Basically, the front is a pleasure to put on, although some minor tweaking was needed for wheel clearance at the inner front arch as the tyre was scrubbing on it.
The rear, was a real pig to fit,with the inner bumper needing to be removed or at minimum, cut down so much that it would be virtually useless.
The shell itself was too flared, and so had to be forced into line with the rear quarter fixing points.
A lot of odd niggly little puzzles were solved today. Improvisation was a good tool to have with this kit. Anyway, i'm knackered so heres a few piccies from this weekends work.
Bumpers anyone?
.
Notice the white bumper bar! Gone!
.
Front end ready for the new!
.
...and on with the new rear bumper, finally fixed and waiting for the final polish.
.
....and the one I know Jason has been waiting to see, alas, it was dark before we could get this out onto the road, so only these photos, hopefully the new owner will get some proper roadside photos soon.
It's on, now for the wheels and to get the jacks out and some final polishing:
.
.
.
Last edited:
 I can't remember what kit it is, but i'm sure the owner will let you know.