I wish I could claim to have sussed this for myself.
But, been down to see Sir Alan of Mansfield Woodhouse.
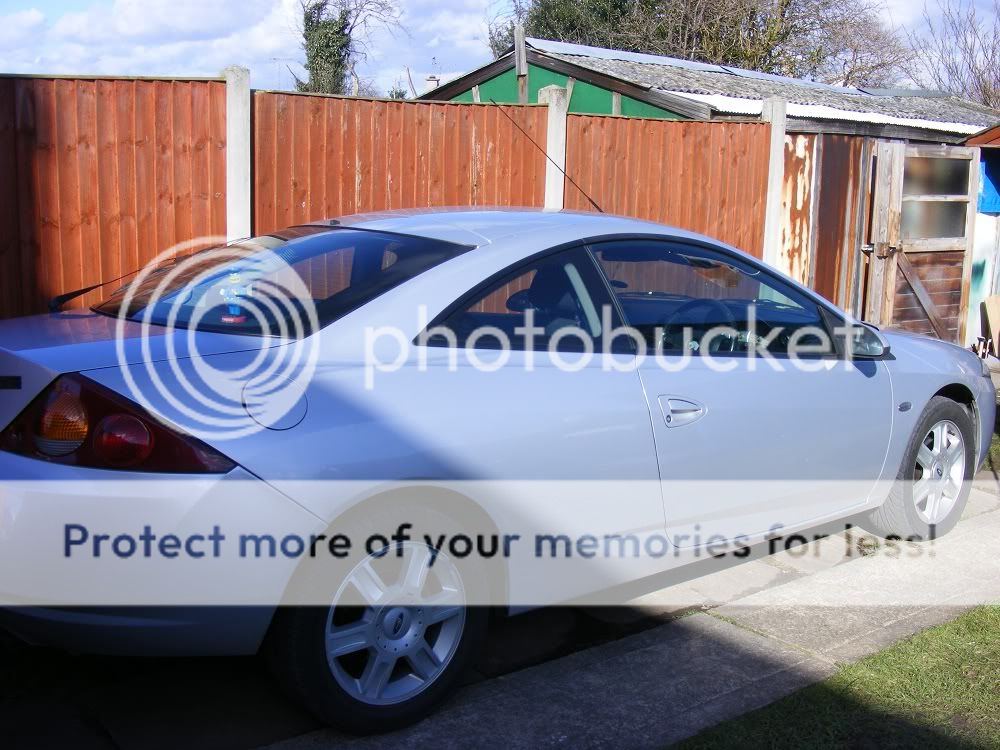
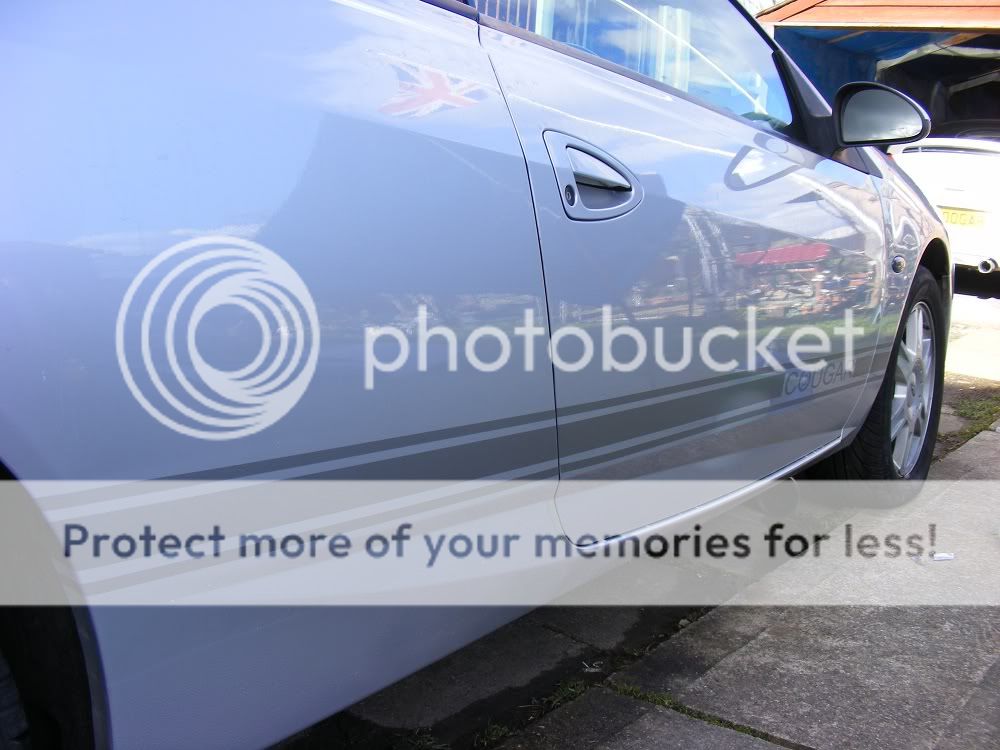
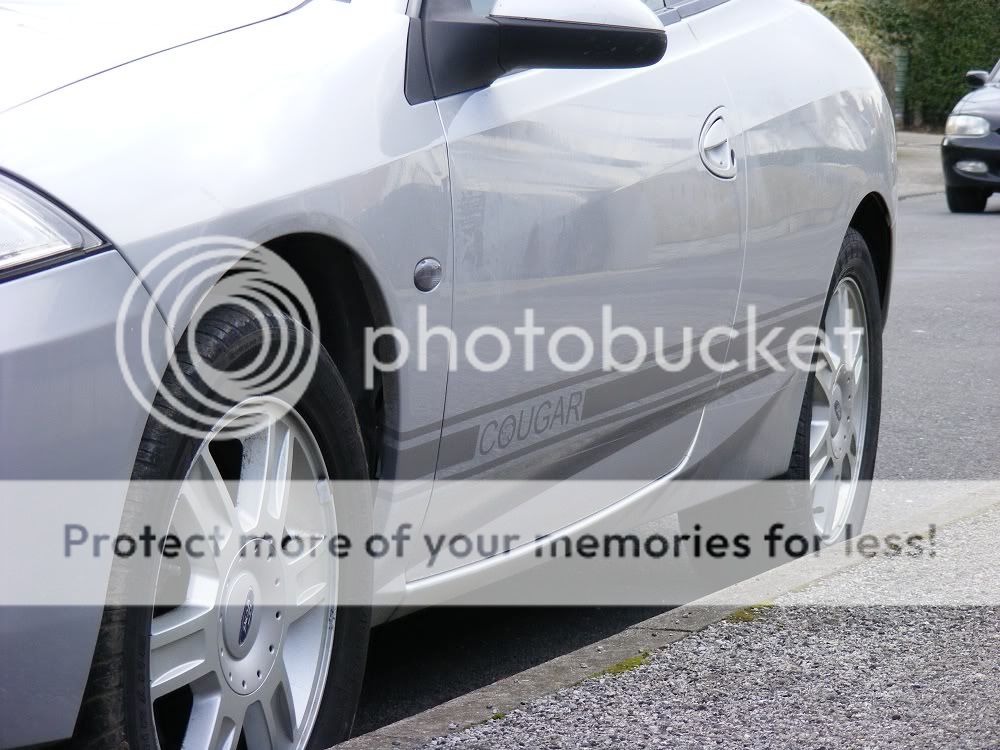
I got these vinyl decals for the side' of cat2 and the results are brilliant and really set the car apart in IMHO.
Thankyou Alan for both the decals and the install.
My contribution is an attempt at a 'how to'
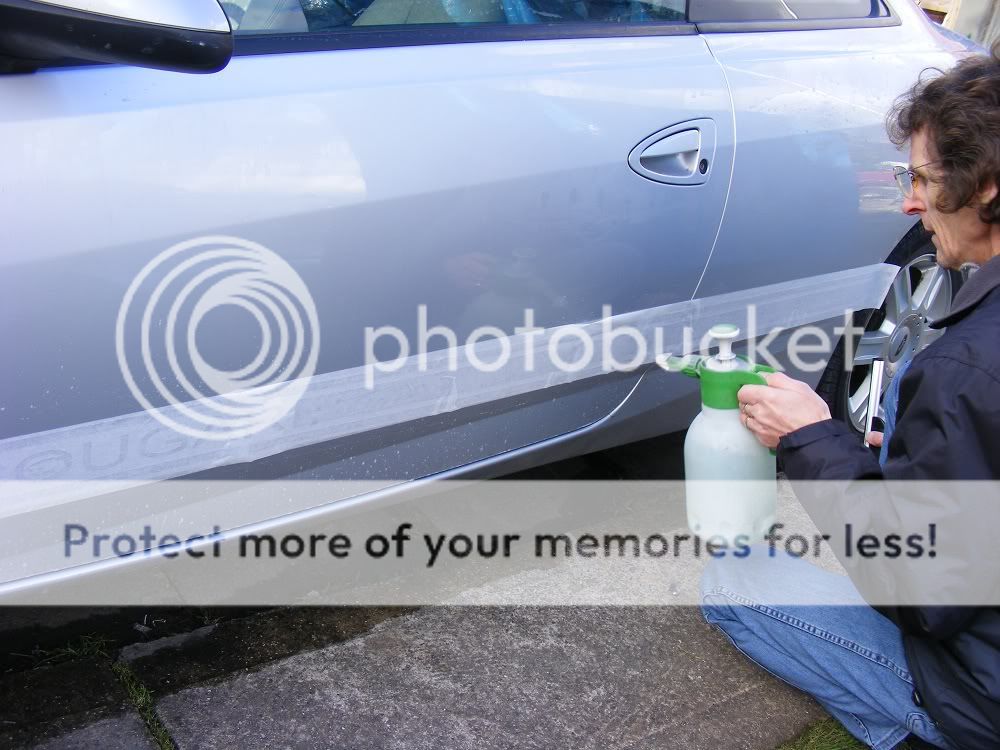
1) Clean the area you will be installing these decals thoroughly
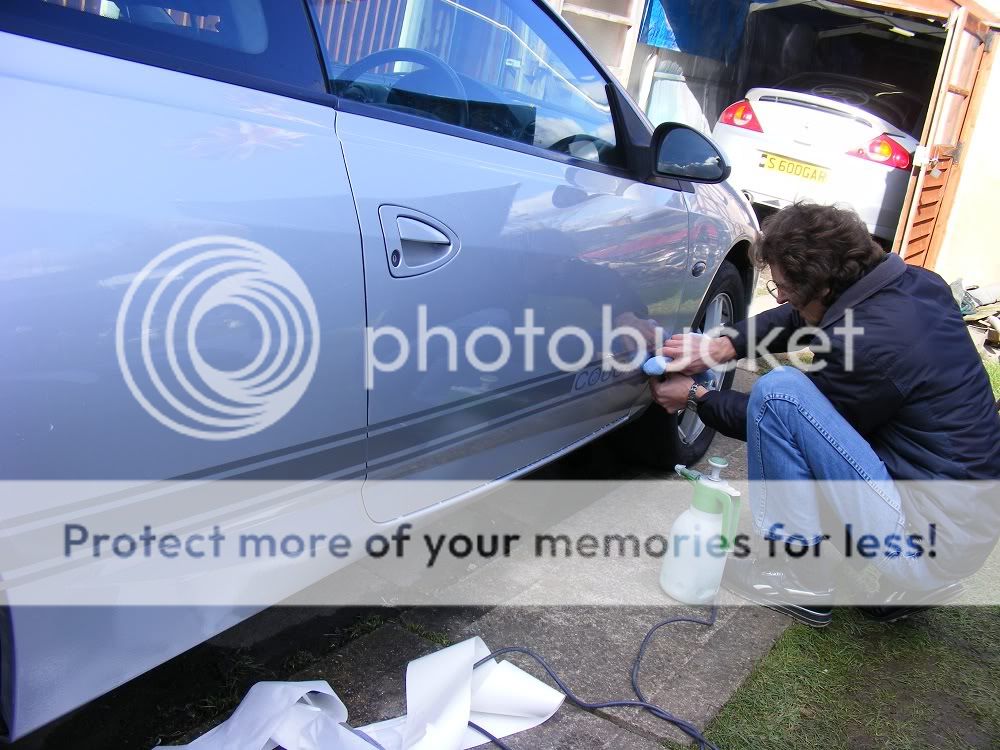
2) Do one side at a time. Spray the area now some mildly soapy water then peel off the back of the decal and test fit. Be careful not to wet the decal too much with the backing paper on as it can stick and be a real pig to get off the vinyl
3) Offer the decal up into the position you require and add some moisture.
4) Squeegy out all the excess water
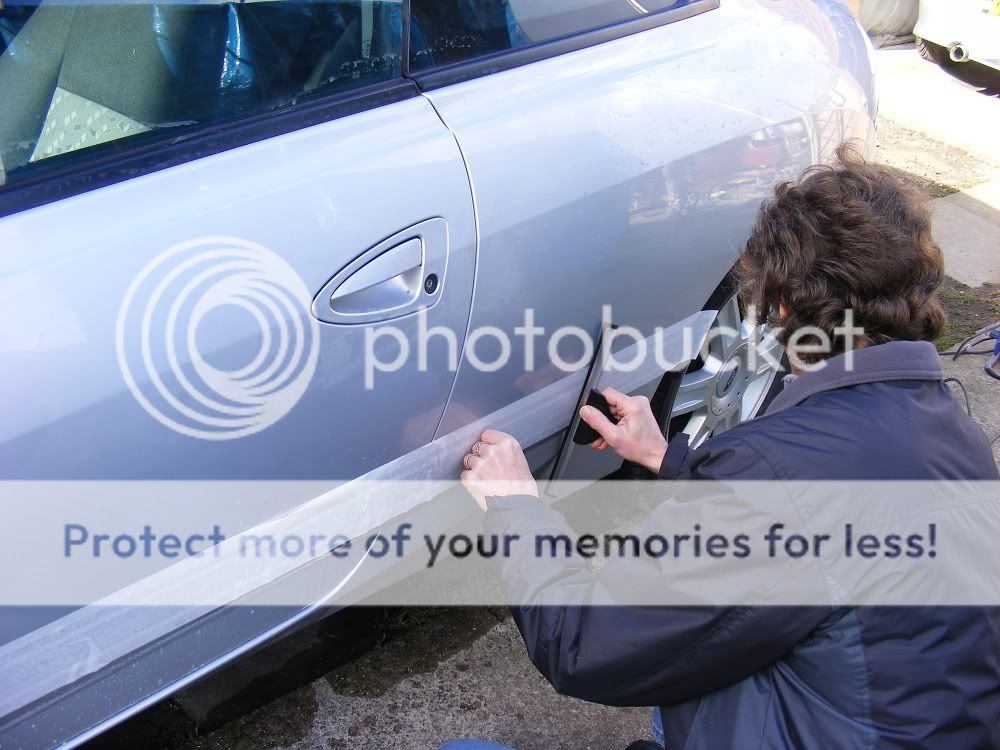
5) With the aid of some heat (heat gun/hair dryer), carefully and slowly start to take off the paper.
6) start to work out the creases/water/air
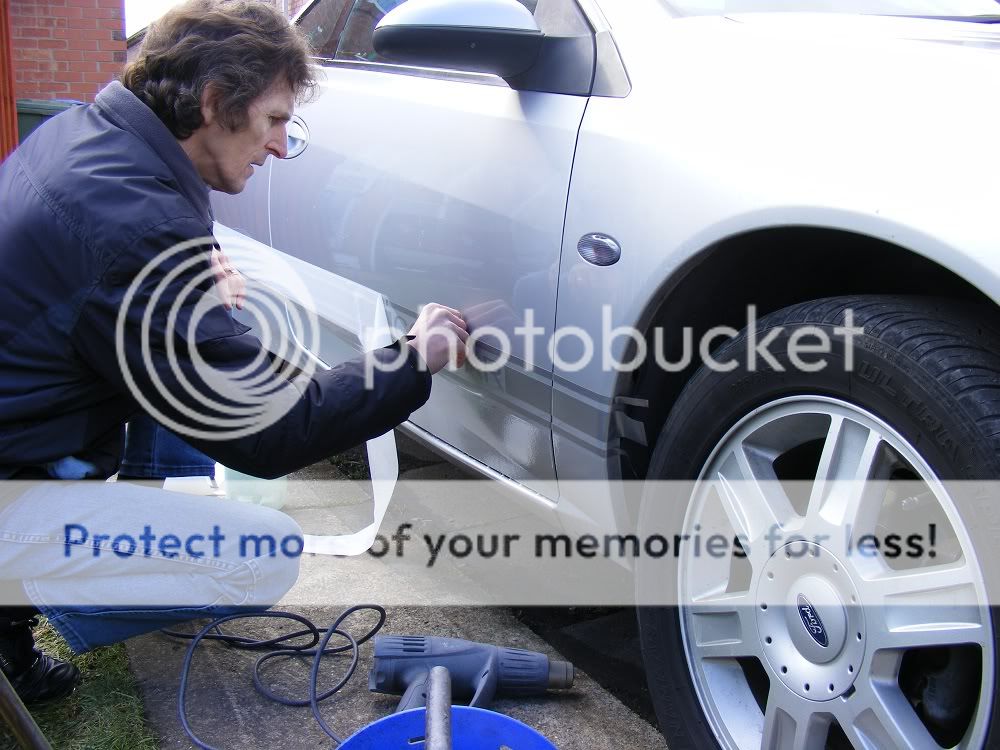
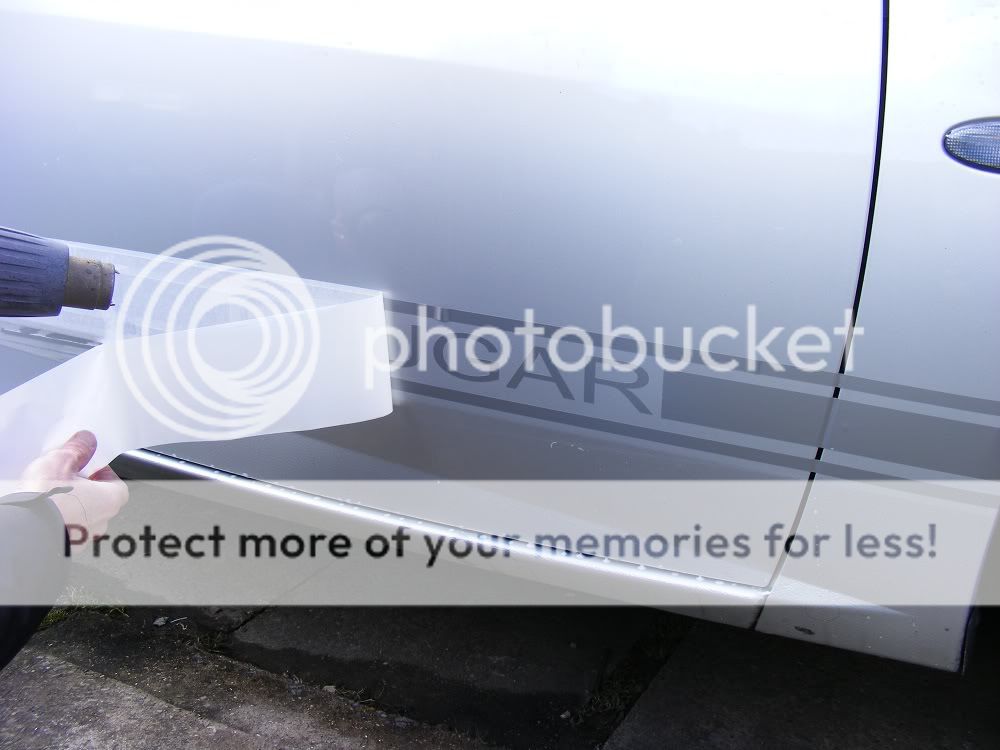
7) Gradually peel back the remaining paper and then work your way along the length, getting rid of air/water etc which is trapped. Remember to cut the decal to allow you to open the door. If you need to re home the decal, add some heat and reapply. Then smooth it out.
8) Tuck excess ends of decal under wheel arch and around door frame etc. Again add heat the make sure its adhesive works in your favour and it remains in situe.....eh voila
9) repeat on other side, remember your spacings as your decal does come with a little excess vinyl.


But, been down to see Sir Alan of Mansfield Woodhouse.
I got these vinyl decals for the side' of cat2 and the results are brilliant and really set the car apart in IMHO.
Thankyou Alan for both the decals and the install.
My contribution is an attempt at a 'how to'
1) Clean the area you will be installing these decals thoroughly
2) Do one side at a time. Spray the area now some mildly soapy water then peel off the back of the decal and test fit. Be careful not to wet the decal too much with the backing paper on as it can stick and be a real pig to get off the vinyl
3) Offer the decal up into the position you require and add some moisture.
4) Squeegy out all the excess water
5) With the aid of some heat (heat gun/hair dryer), carefully and slowly start to take off the paper.
6) start to work out the creases/water/air
7) Gradually peel back the remaining paper and then work your way along the length, getting rid of air/water etc which is trapped. Remember to cut the decal to allow you to open the door. If you need to re home the decal, add some heat and reapply. Then smooth it out.
8) Tuck excess ends of decal under wheel arch and around door frame etc. Again add heat the make sure its adhesive works in your favour and it remains in situe.....eh voila
9) repeat on other side, remember your spacings as your decal does come with a little excess vinyl.

 rrr:
rrr:
