Trial and error i think i've only one layer to cover my models in the past but i was going to try using 1off 6oz then 2off 10oz, let me know what you think after your doors have set.
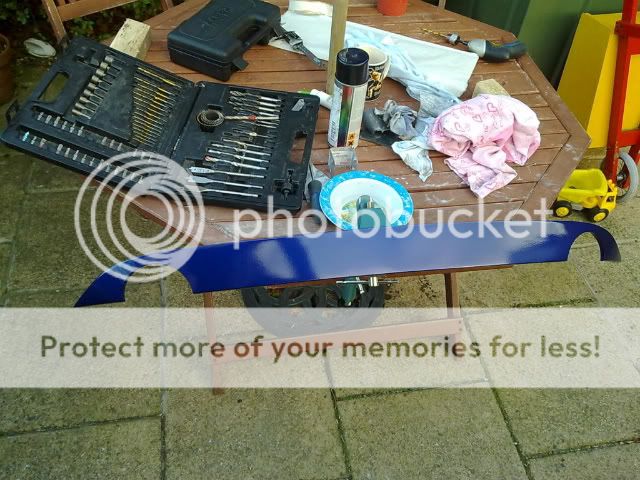
Today i dropped the exhaust and had a trial fit, i was expecting some gaps which i had planned to place a beed of body filler on all off the contact area then hold in place untill set, i had applied some silicon on the bumper so it should seperate.
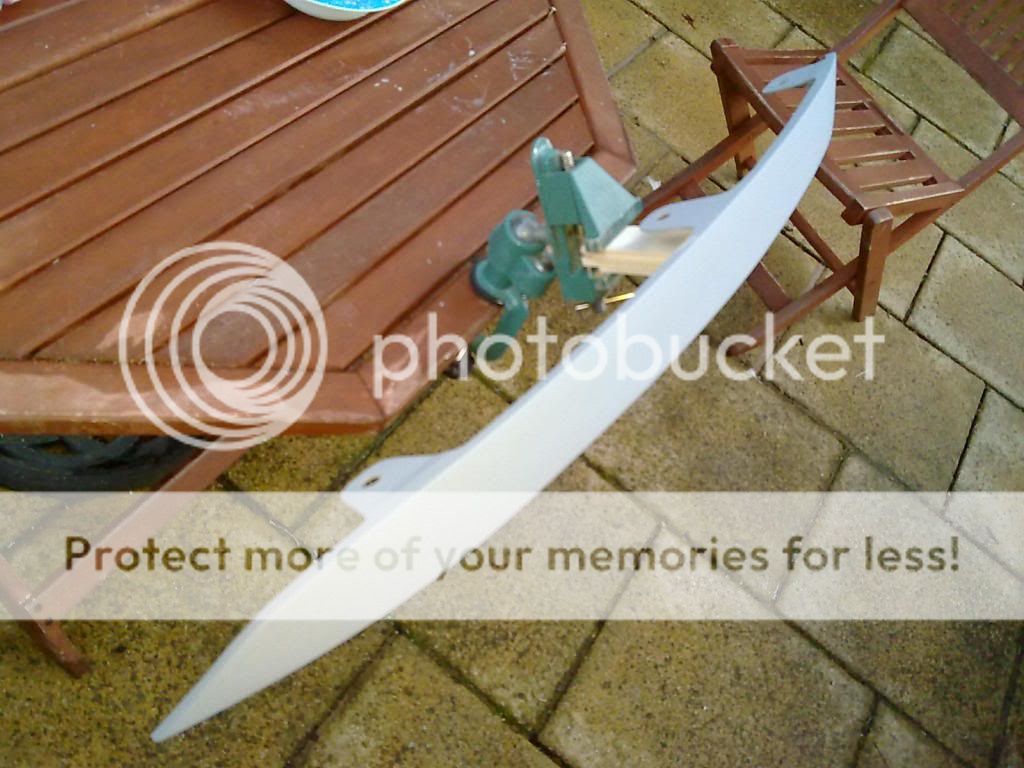
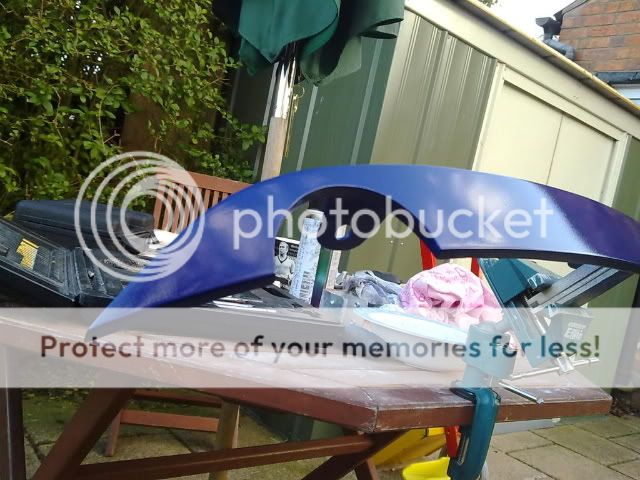
Imagine the infill is blue and oval slashed tips are just above lower edge
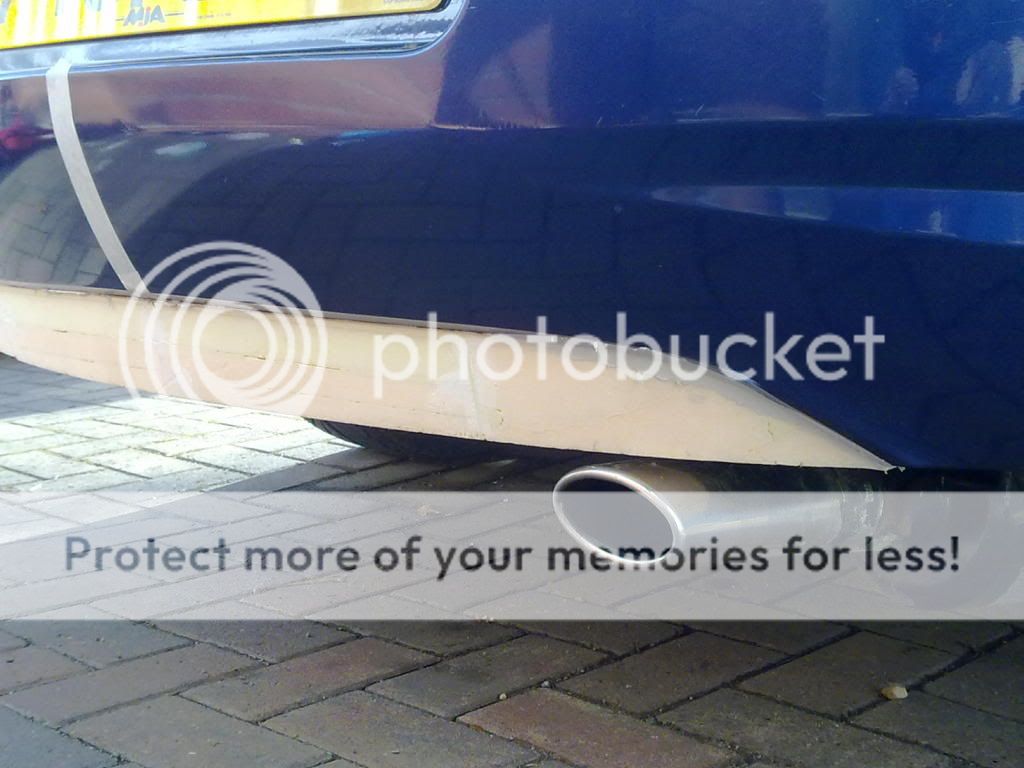
More shaping needed to get infill to flow with a bumper which is fitted, just by having the plastic rivets removed makes a big difference to the shape :mad2:
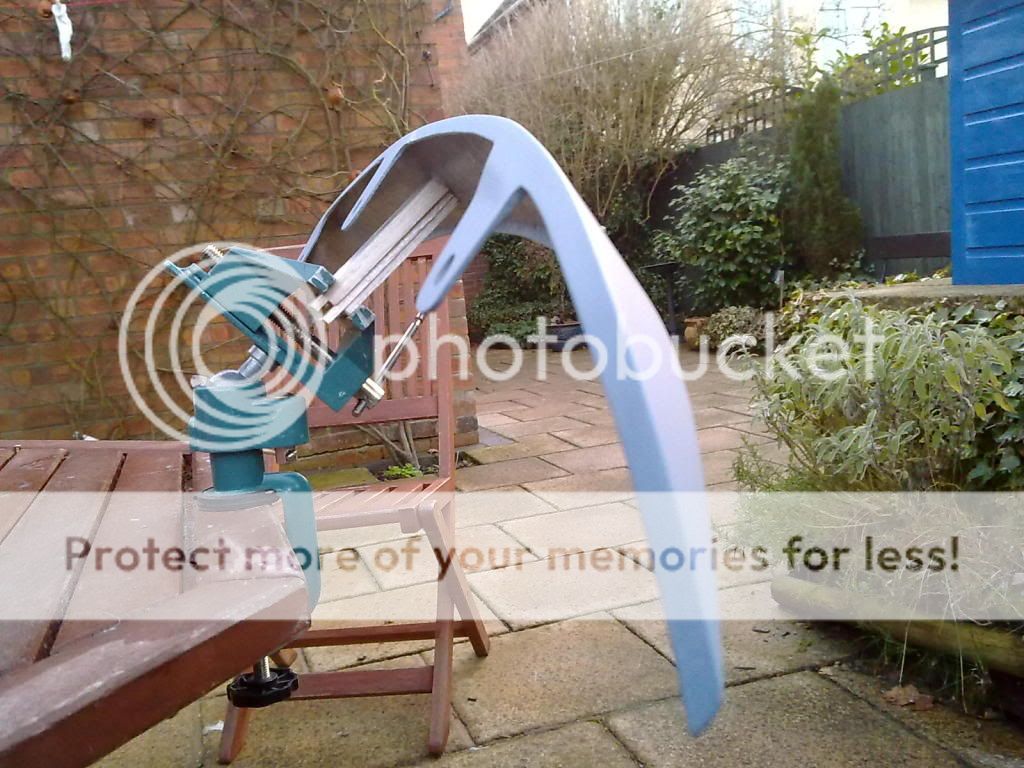
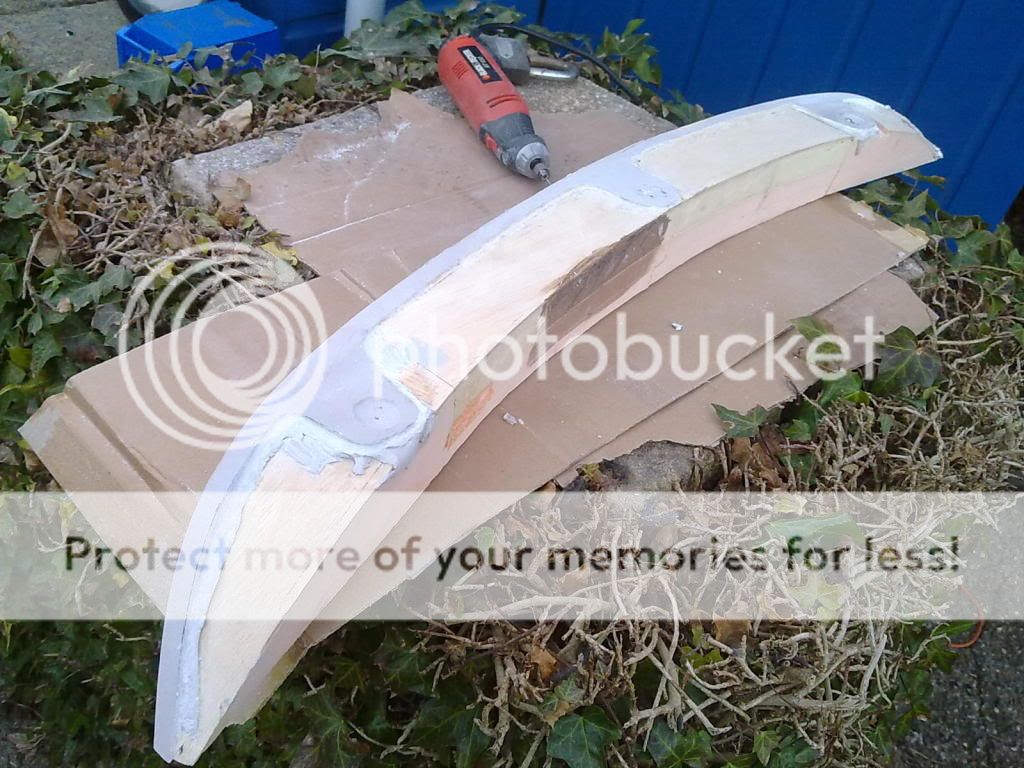
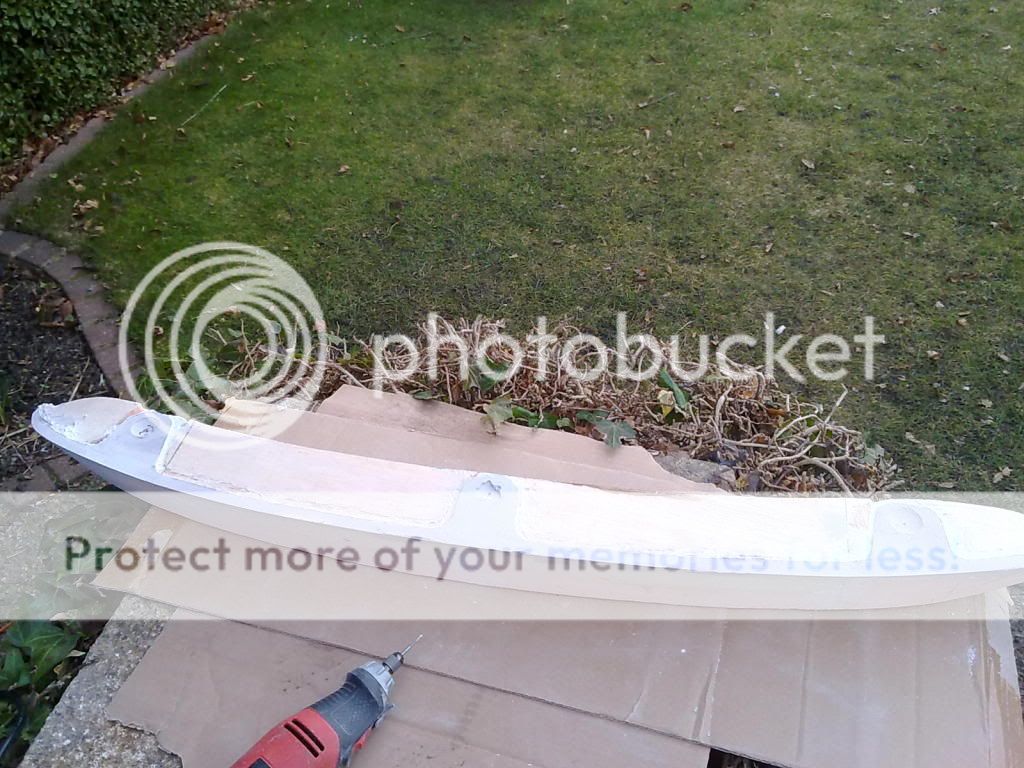
Jamie i intend to make a mould from this plug and then hopefully an infill that i don't need to throw in the bin.

Today i dropped the exhaust and had a trial fit, i was expecting some gaps which i had planned to place a beed of body filler on all off the contact area then hold in place untill set, i had applied some silicon on the bumper so it should seperate.
Imagine the infill is blue and oval slashed tips are just above lower edge
More shaping needed to get infill to flow with a bumper which is fitted, just by having the plastic rivets removed makes a big difference to the shape :mad2:
Jamie i intend to make a mould from this plug and then hopefully an infill that i don't need to throw in the bin.


") pics. not the best.
pics. not the best.