What Have You Done to Your Cougar Today?
- Thread starter Axximilli
- Start date
You are using an out of date browser. It may not display this or other websites correctly.
You should upgrade or use an alternative browser.
You should upgrade or use an alternative browser.
Thought I'd get the tools out and see if I can fix (or break) something 
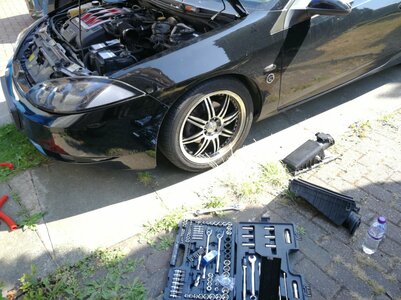
So I set about removing the airbox to get that reverse light switch swapped. 15 minutes later (that's not bad for me!), the new part was in place. Thought I'd check the air filter while the airbox was off the car and......bleurgh!!!
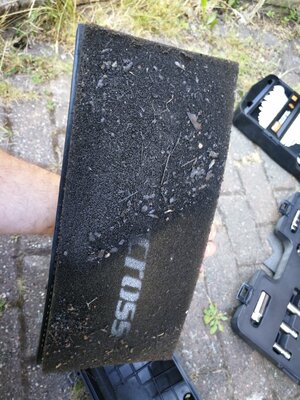
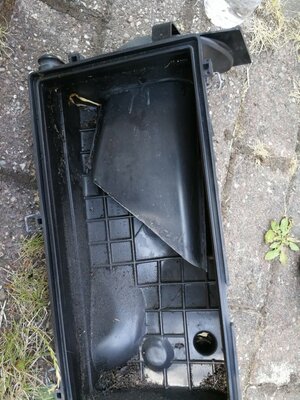
I'll get a standard paper filter and give the airbox a thorough clean before it goes back on the car. But, the end result was:
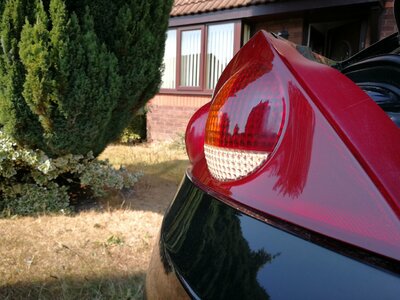
Woohoo.....I actually fixed something. Without swearing once!

So I set about removing the airbox to get that reverse light switch swapped. 15 minutes later (that's not bad for me!), the new part was in place. Thought I'd check the air filter while the airbox was off the car and......bleurgh!!!


I'll get a standard paper filter and give the airbox a thorough clean before it goes back on the car. But, the end result was:

Woohoo.....I actually fixed something. Without swearing once!
I did see the post, I'm not known for parting with things, plus I still have room in the shed.
Anyway fitted the new Radio, not at all simple as people say, you need to cut a lot of plastic away and some steel, My 110V dremel did the job.
The radio really need a surround adding and a standard one isn't going to work, So time to fire up the 3D printer, but not this weekend.
I have another centre consul, in the shed, if it ever goes back to the original setup.
It does require a lot of hacking at plastic with a Dremel, that's true. But I will say it's a damned sight easier than what Manos went through with his full-depth one. That required removing most of the metal structure that supports the standard stereo, and drifting out rivets.
Not saying you're wrong - it's still a pain - but these things are relative, right? Incidentally, if you get the top and bottom exactly right, you only need to infill the sides and B&Q sell a U-shaped conduit that's perfect for it.
Thought I'd get the tools out and see if I can fix (or break) something
View attachment 11014
So I set about removing the airbox to get that reverse light switch swapped. 15 minutes later (that's not bad for me!), the new part was in place. Thought I'd check the air filter while the airbox was off the car and......bleurgh!!!
View attachment 11015
View attachment 11016
I'll get a standard paper filter and give the airbox a thorough clean before it goes back on the car. But, the end result was:
View attachment 11017
Woohoo.....I actually fixed something. Without swearing once!
Why not just clean the pipercross one up and re-oil?
But well done on thw fix
Why not just clean the pipercross one up and re-oil?much better lol...
But well done on thw fix
Yeah, thinking about that now. Can get the cleaning kit from Halfrauds tomorrow and got a paper filter arriving on Monday. She can have the weekend off considering her airbox is in the boot
Good work guys. John the Pipercross is well worth cleaning and reinstalling, even a numpty like me can do it!
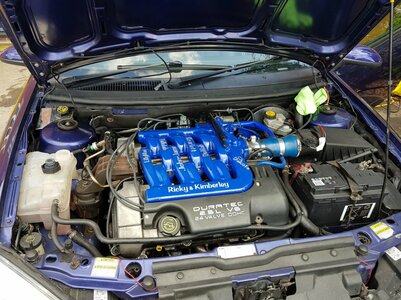
Ricky that UIM looks superb, totally unique and you can rope in the named people to help you polish it!
Ricky that UIM looks superb, totally unique and you can rope in the named people to help you polish it!
... and you can rope in the named people to help you polish it!
I have a feeling that's why my parents had kids at all.
They just wanted someone to do the cleaning.
Yeah, thinking about that now. Can get the cleaning kit from Halfrauds tomorrow and got a paper filter arriving on Monday. She can have the weekend off considering her airbox is in the boot
Definately stick the PiperX back in there John, they're loads better than standard paper.
Nice toolbox
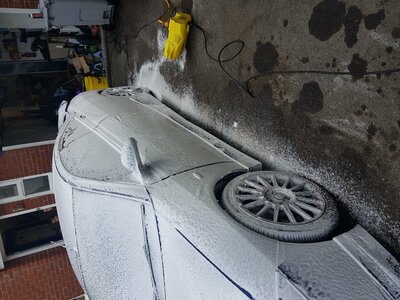
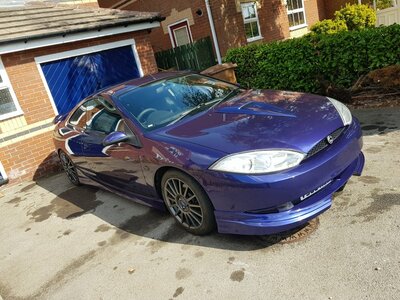
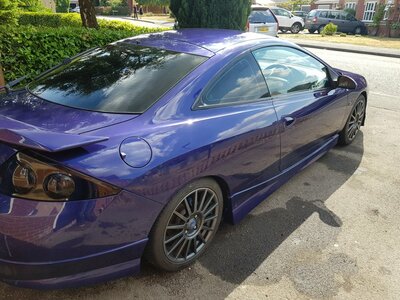
Just washed it [emoji4]
DG was going to get the "Ricky" treatment but my jetwash is buried in the cave
Hit the inside of the OSR sill with Kurust and then once it was dry (alarmingly quickly) absolutely drenched the inside of the whole length of the sill - wheelarch to wheelarch - with Dynax. Reassembed the interior, though I need to pull the rear squab on Monday to do some fettling around the oval hole where the ABS and pad-wear lines run into the car.
Also changed my plugs. Motorcraft ones, intended for the Cougar and labelled as such. After some grunting and farting (by Tiger, not by me) it became clear that although they were the right plugs, they weren't gapped correctly. You'd think I would've learned my lesson from last time, but no. Out and regapped, now purring like a kitten.
Seems she can cope with a wider gap as they wear out, but too small of gap is no bueno. 0.2 of a mm too narrow, boys and girls. 1.3mm, not 1.1.
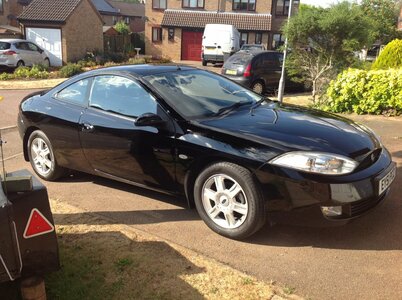
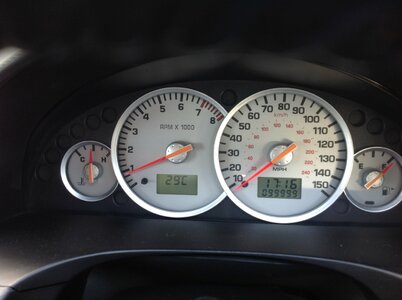
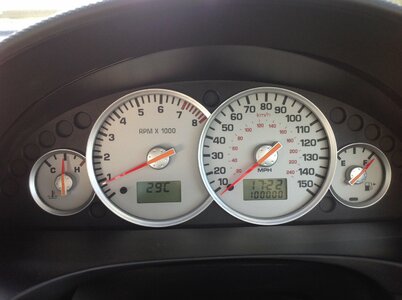
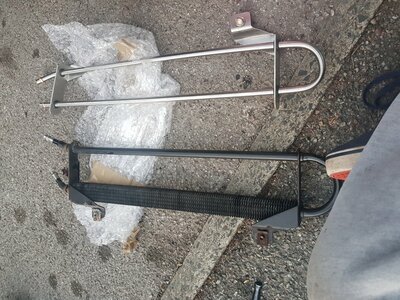
What’s this 100k club??
Sent from my iPhone using Tapatalk
Ive forgotten it was 20k miles ago!
